Akkumatik (Kit)
Battery charge, discharge and diagnostic system
Some time ago a friend of mine told me about the Akkumatik kit from Stefan Estner. With about 150€ the device is not one of the cheapest, but it is definitely worth the money. It offers the user a variety of programs and settings like no other charger.
I would like to present my experiences in terms of setup and operation here, to ease the purchase decision for others. Also some small modifications and tricks should not be missed.
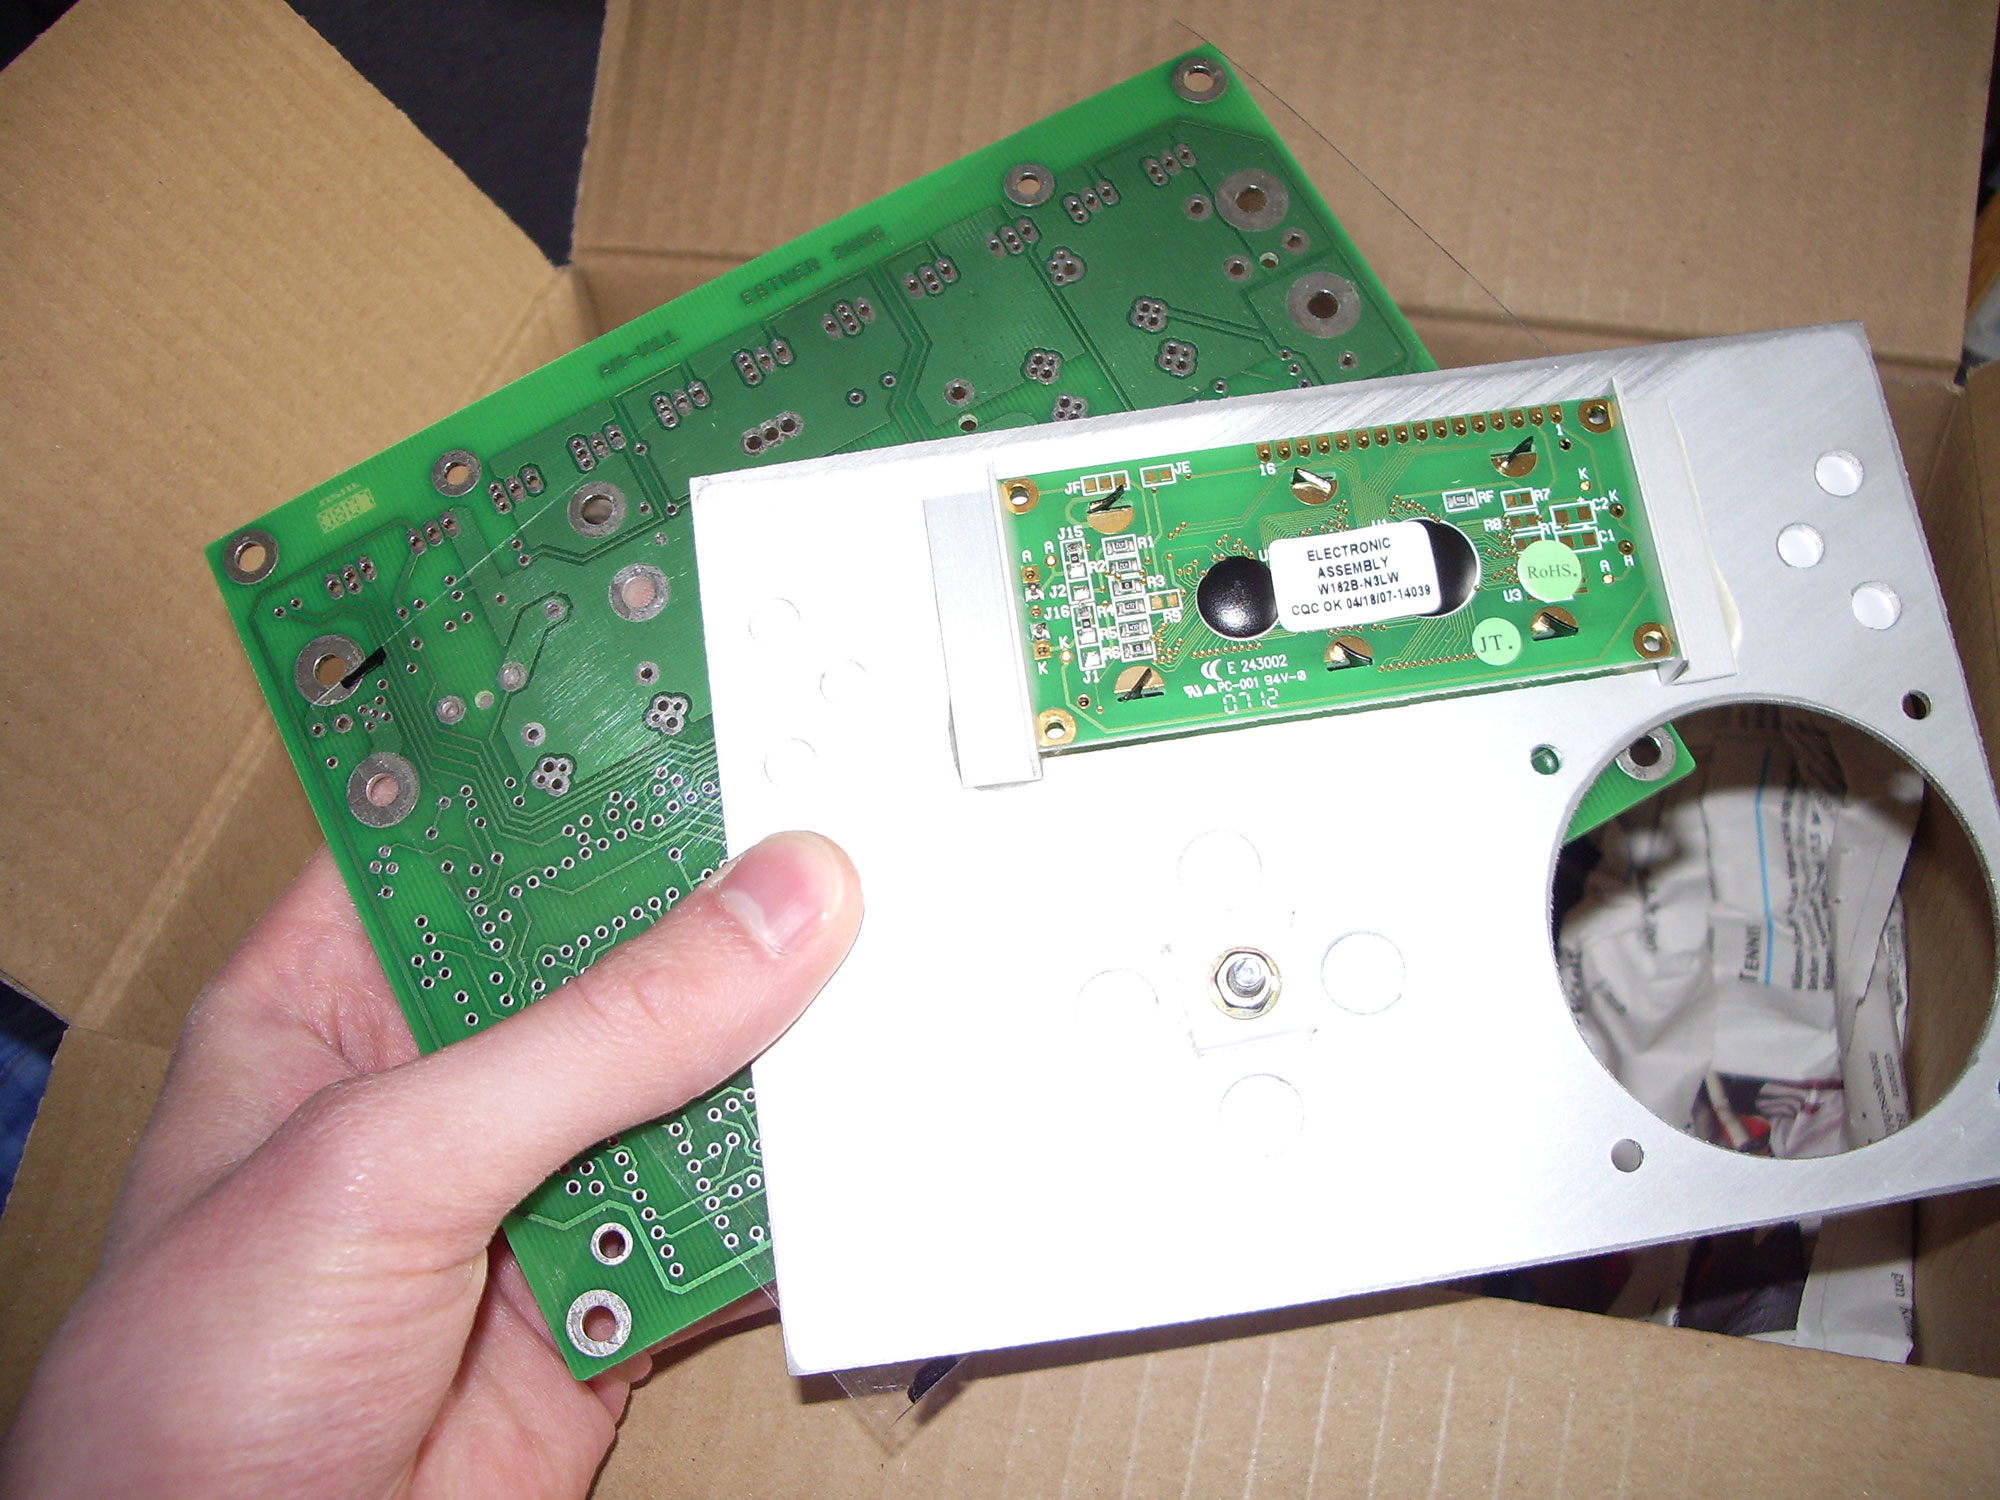
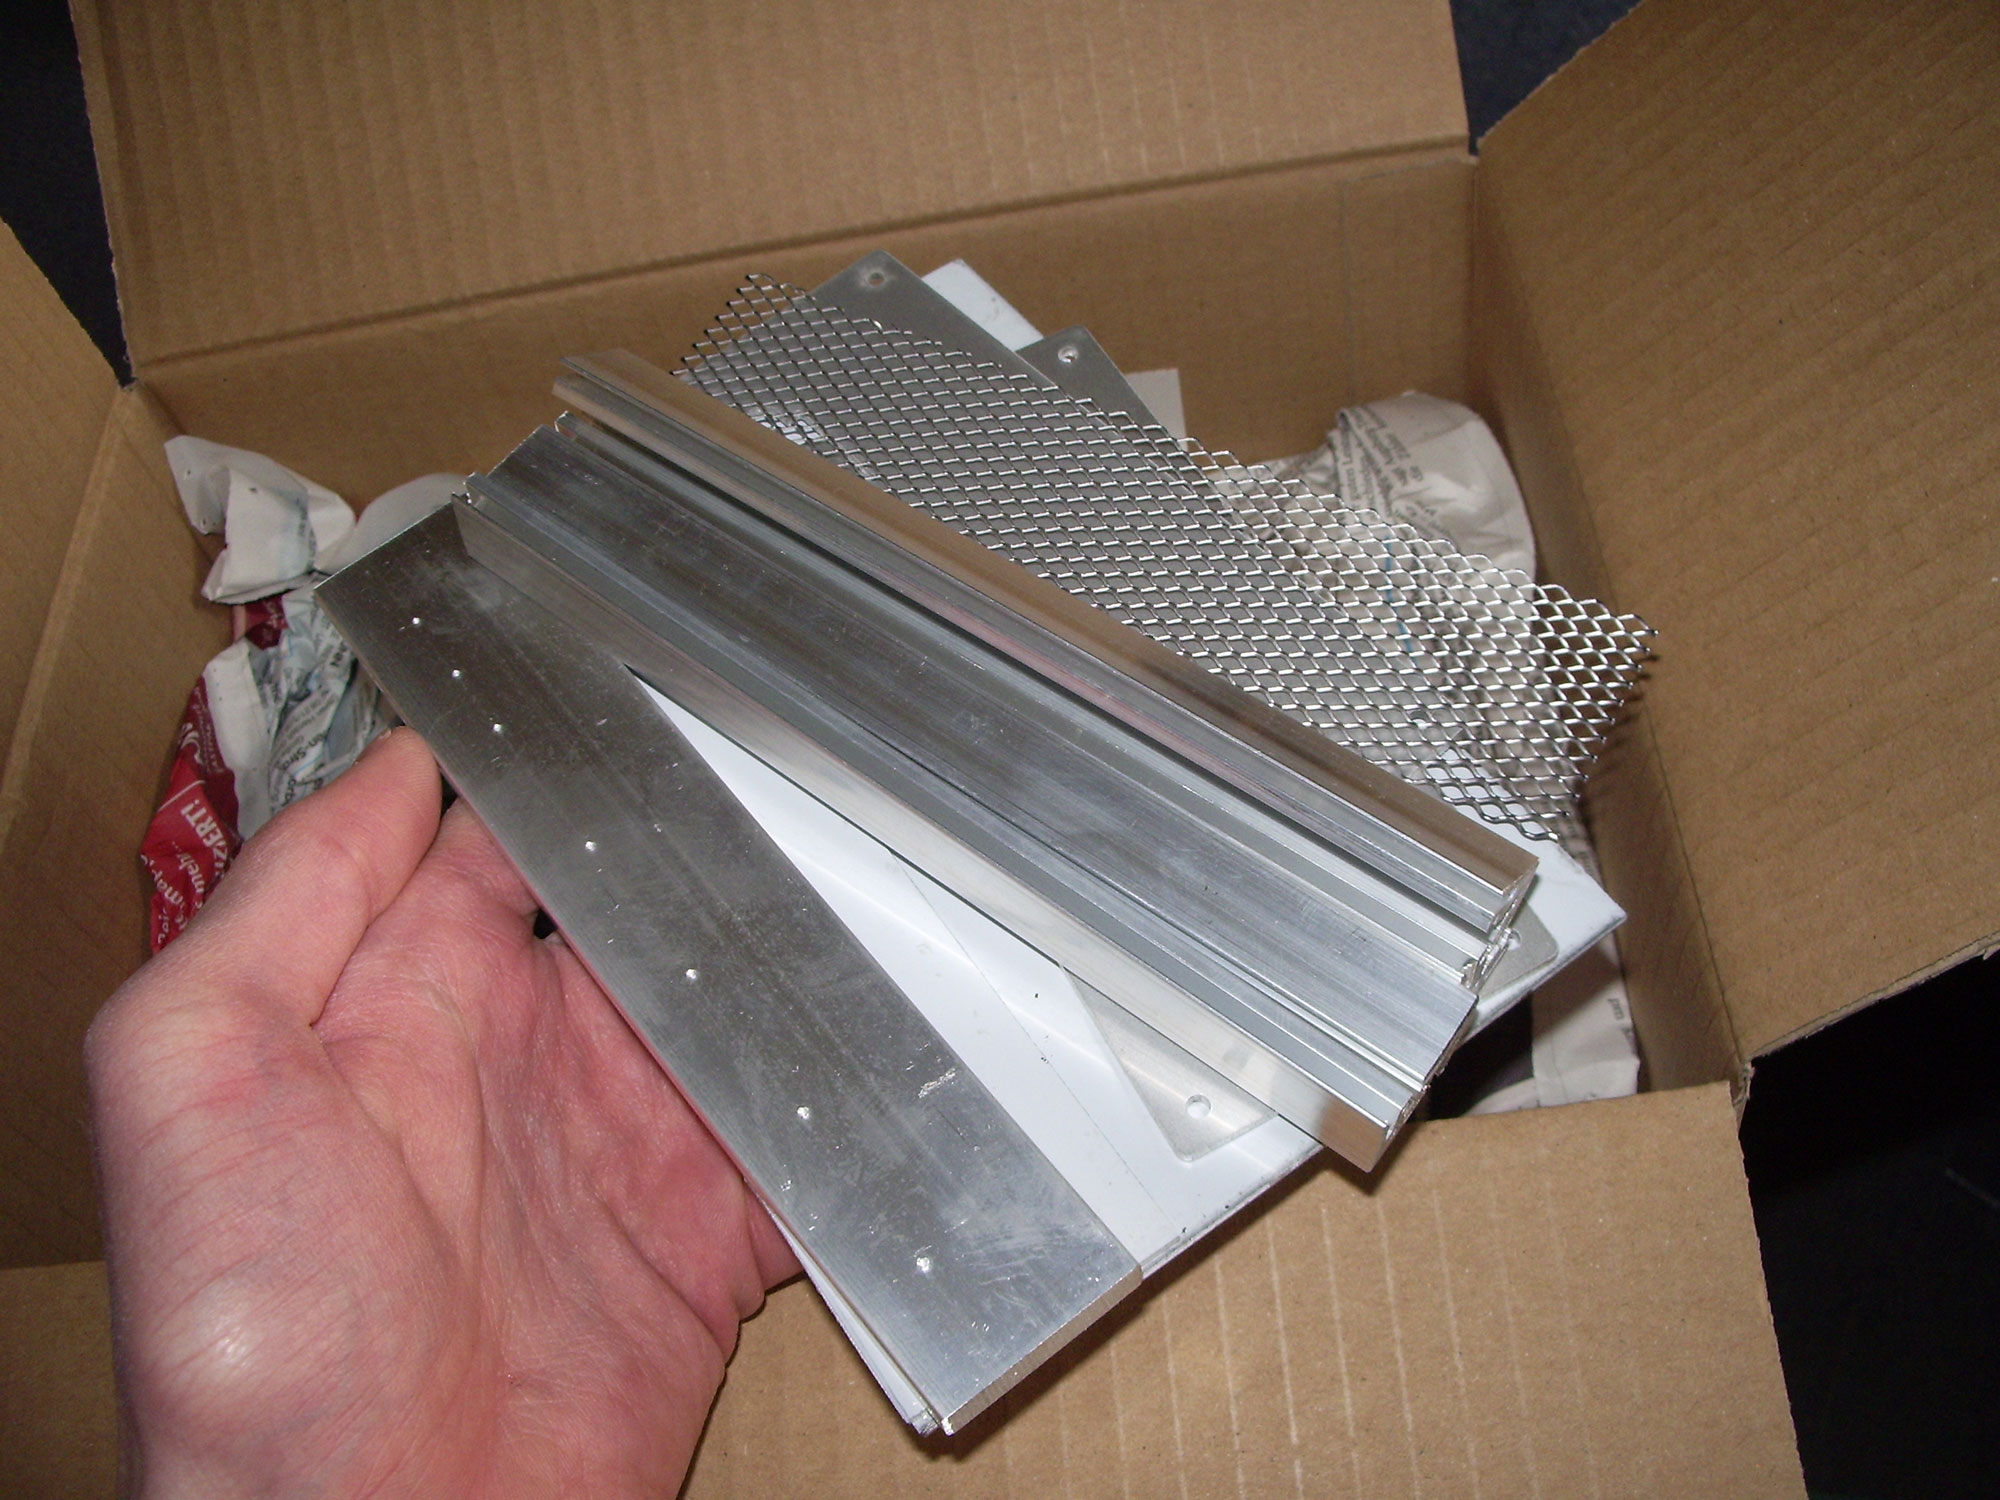
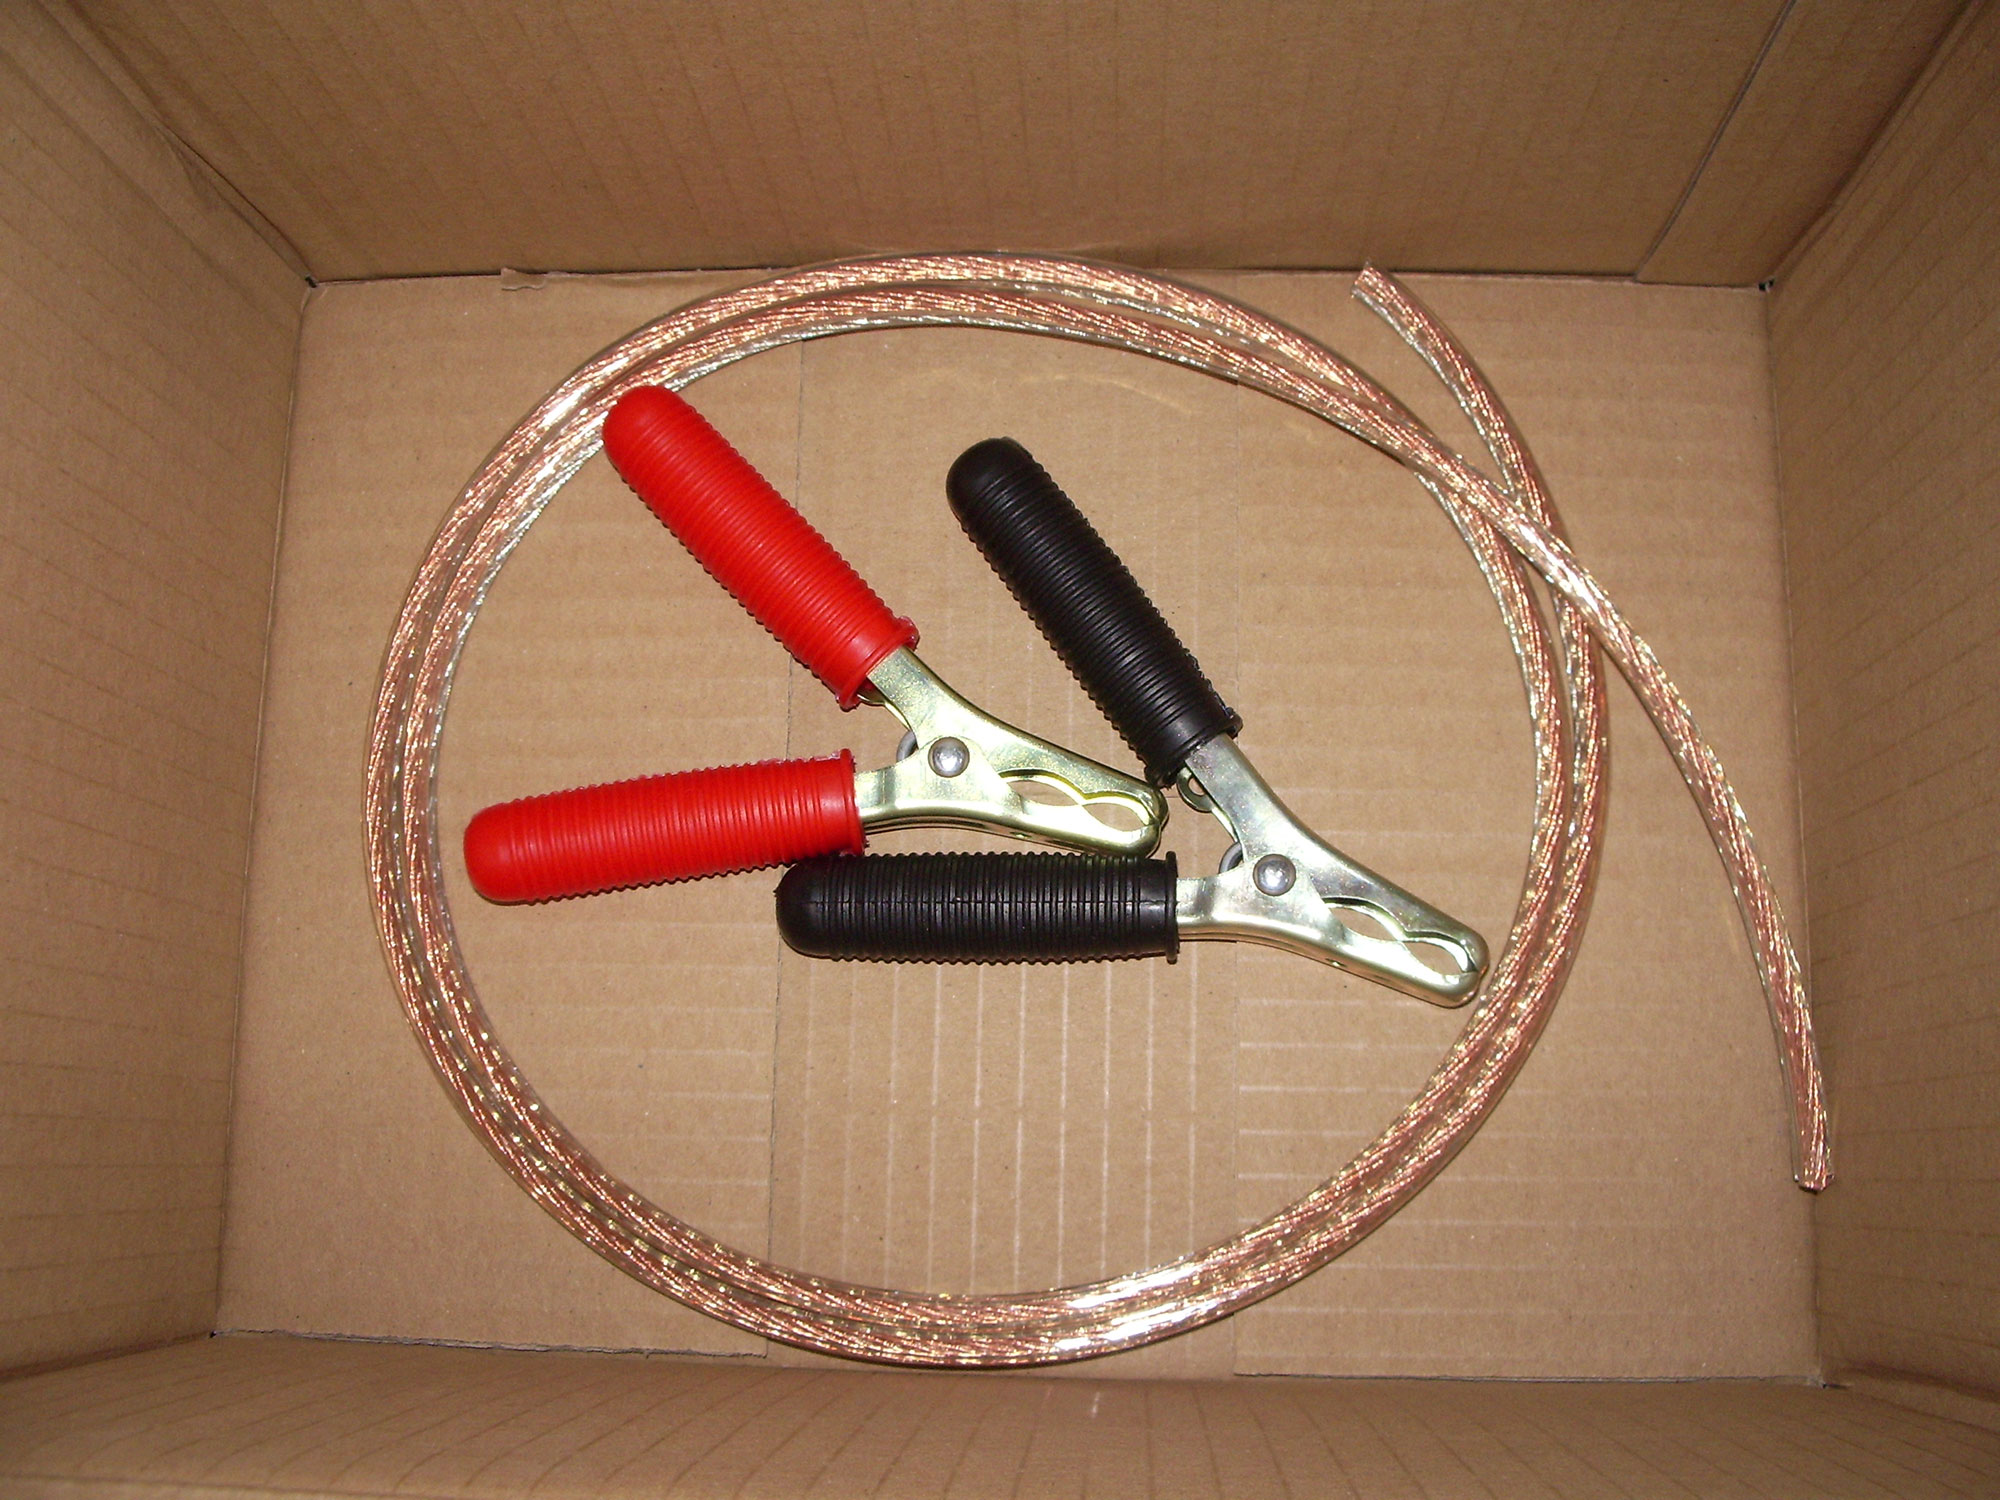
The parcel
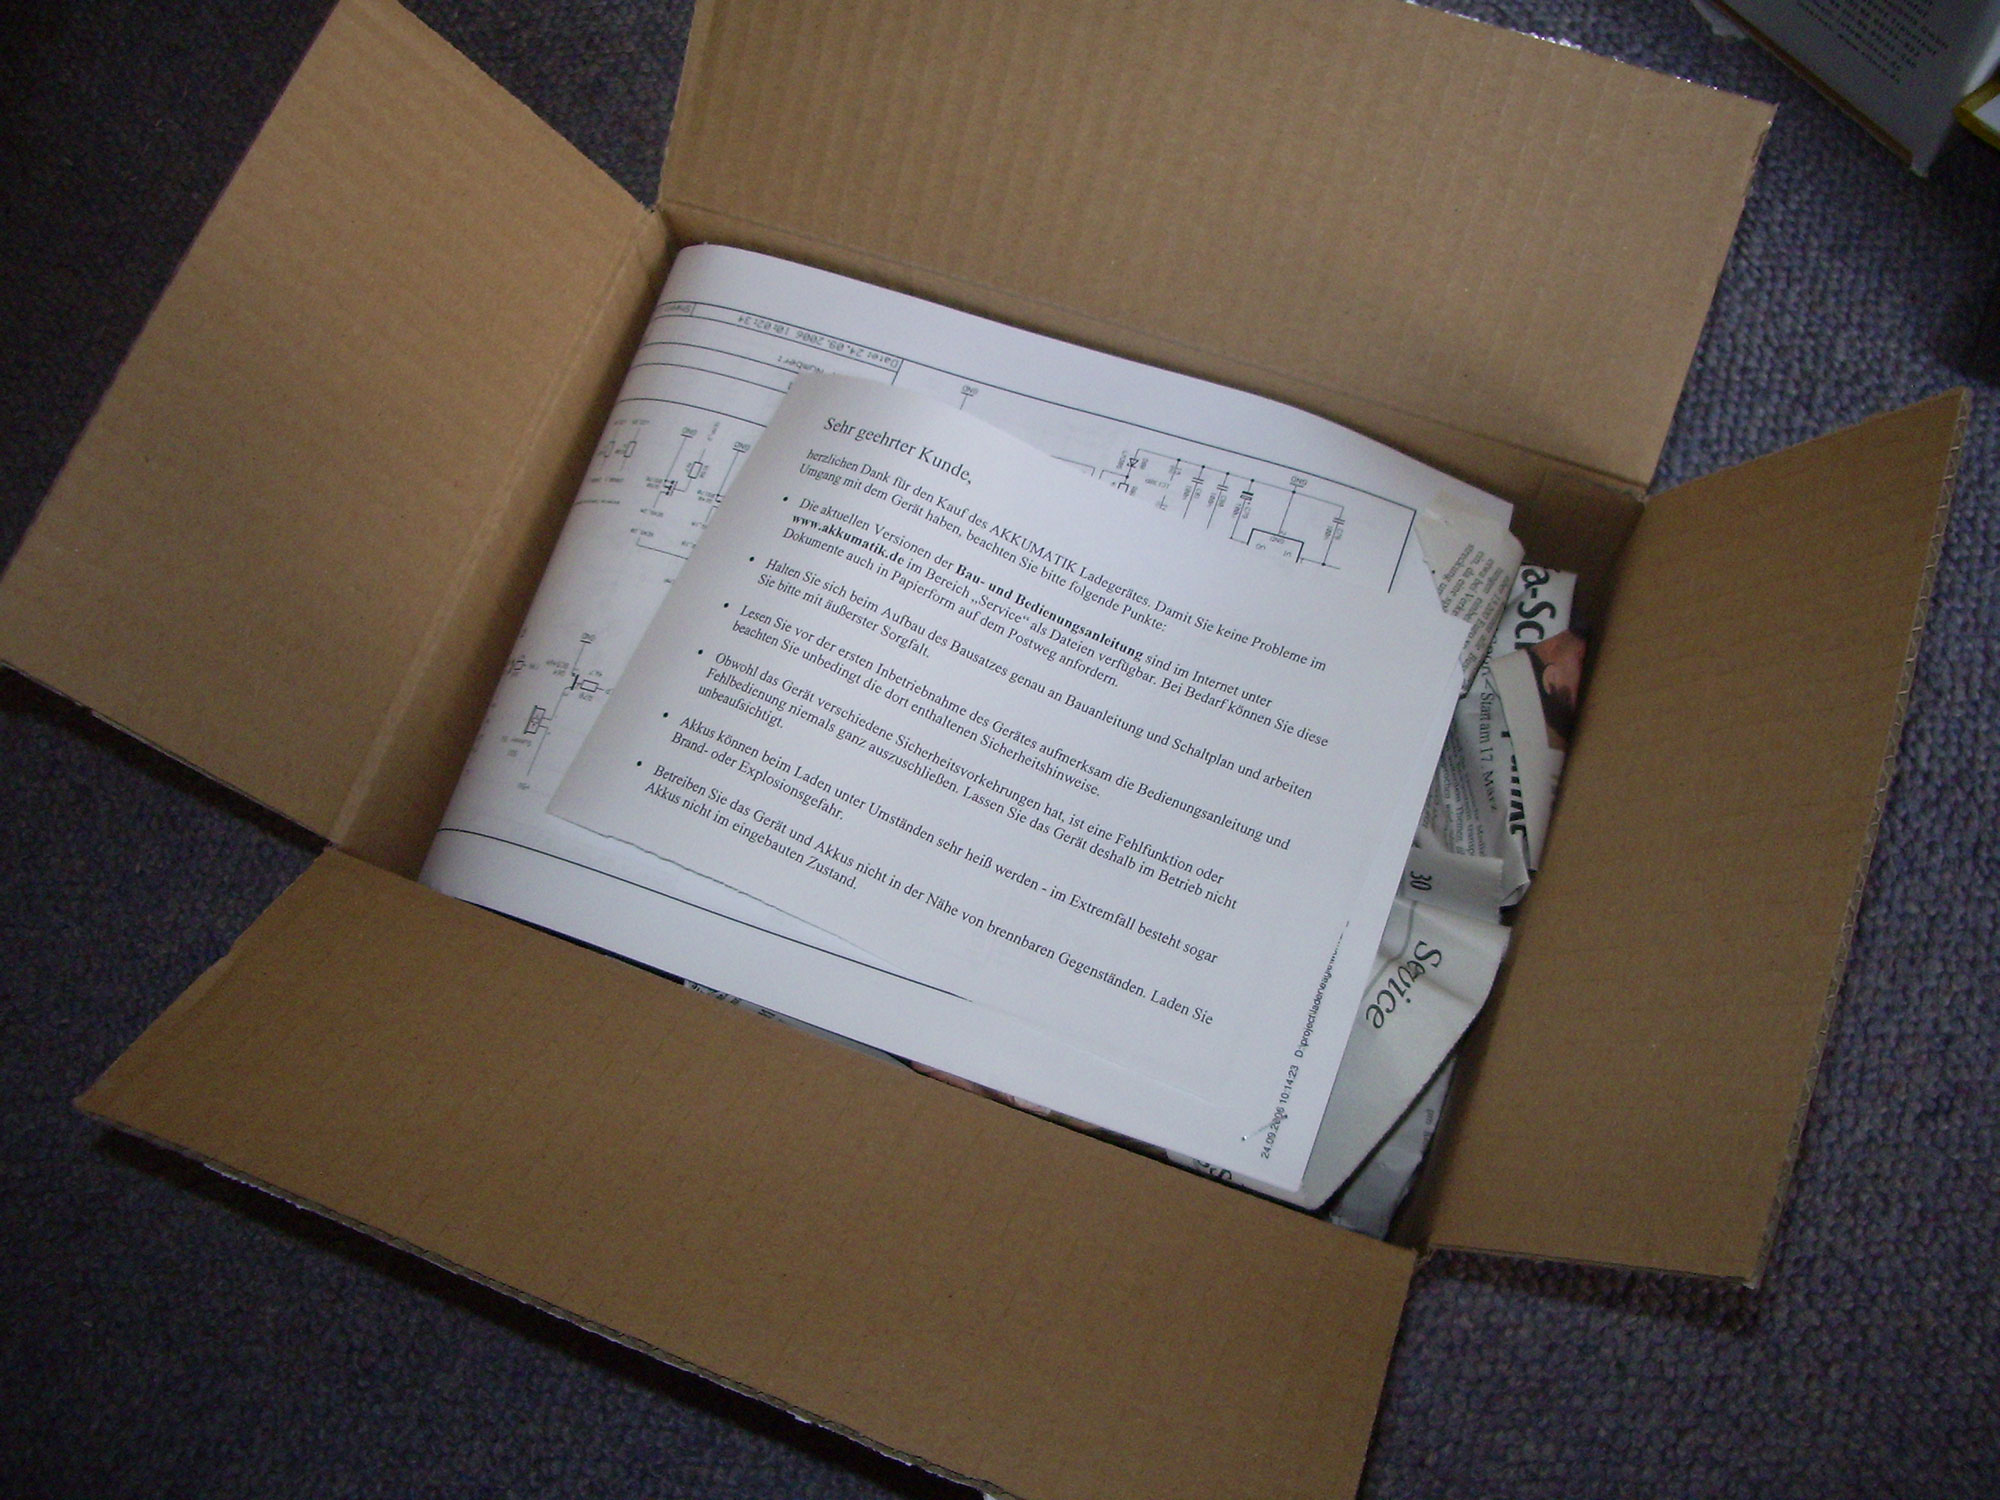
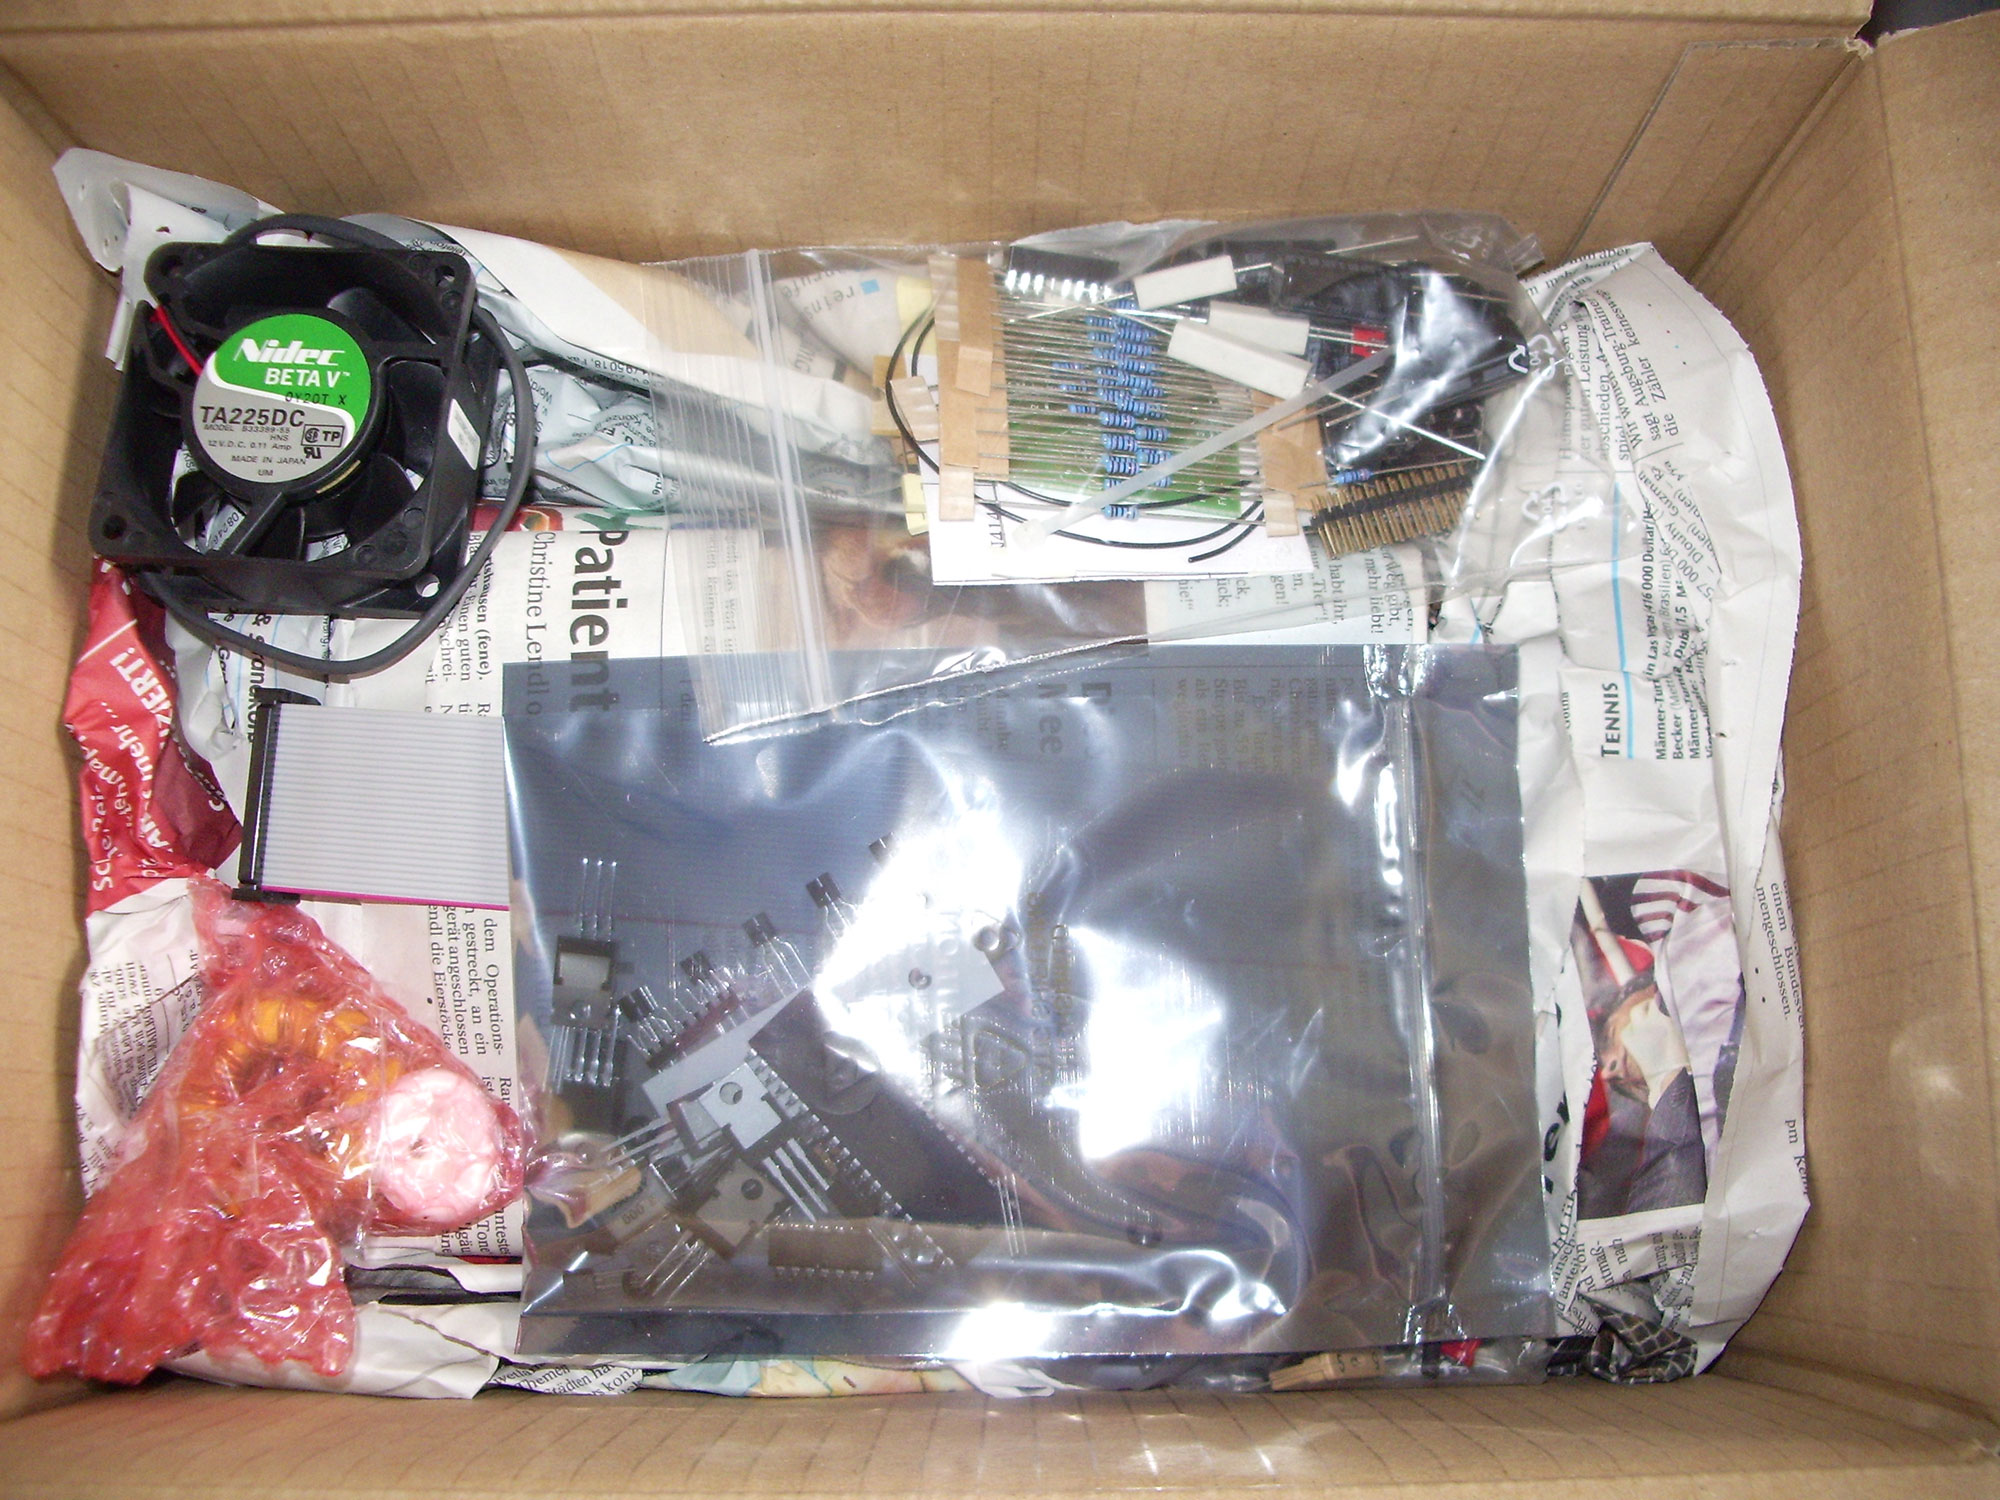
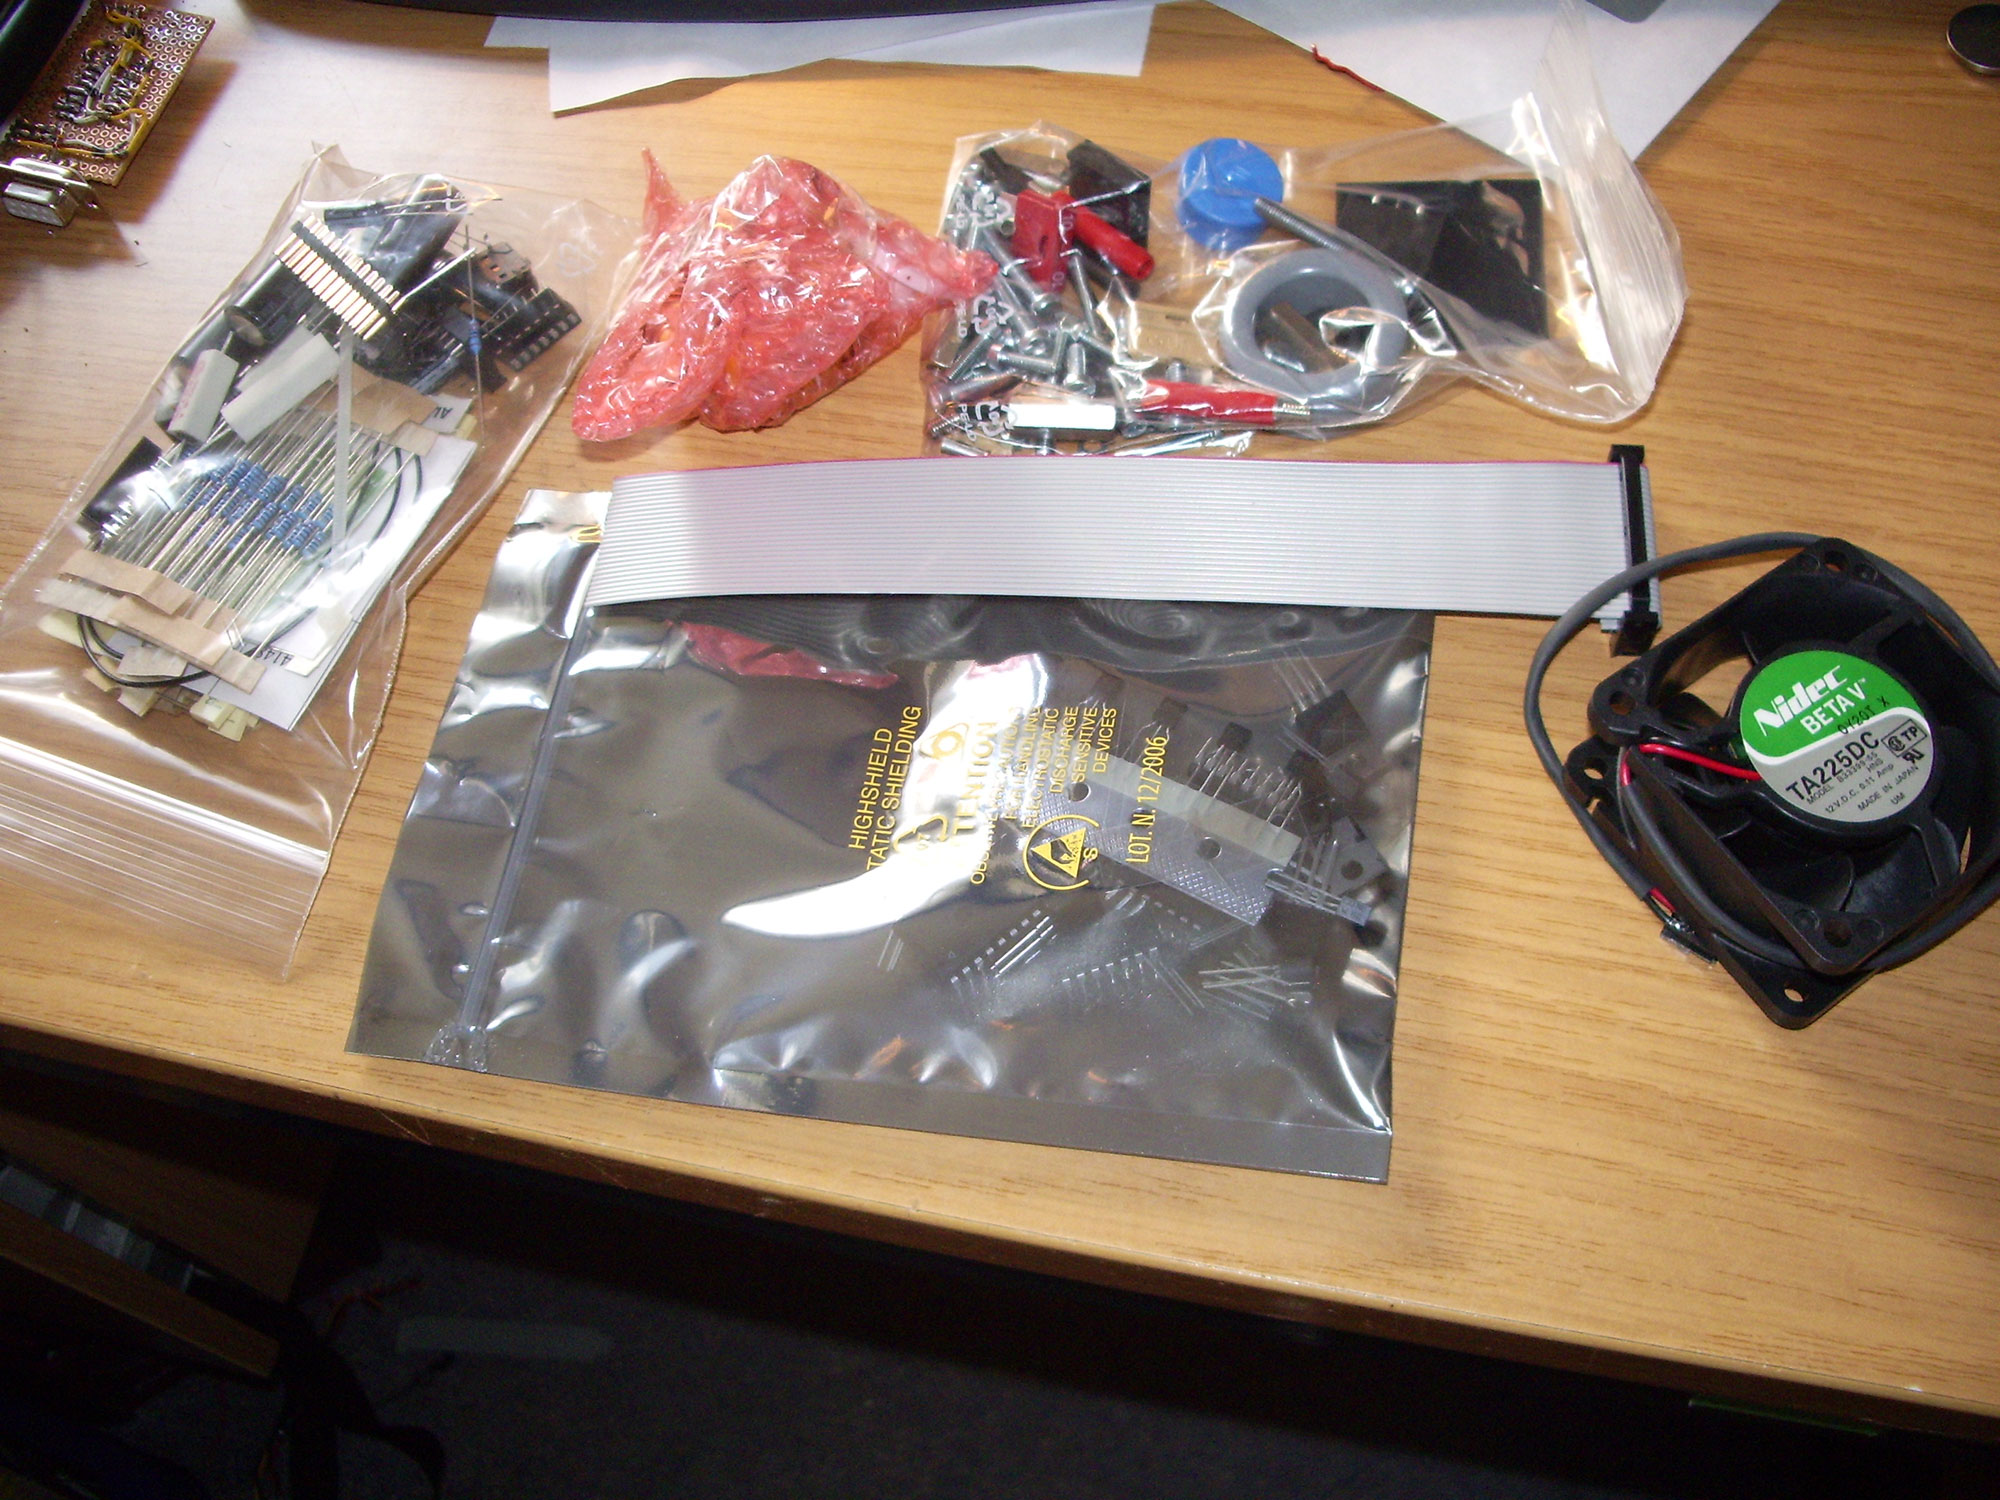
After some waiting time, the parcel is finally delivered to my door. I can hardly wait to unpack it! Pictures say more than 1000 words:

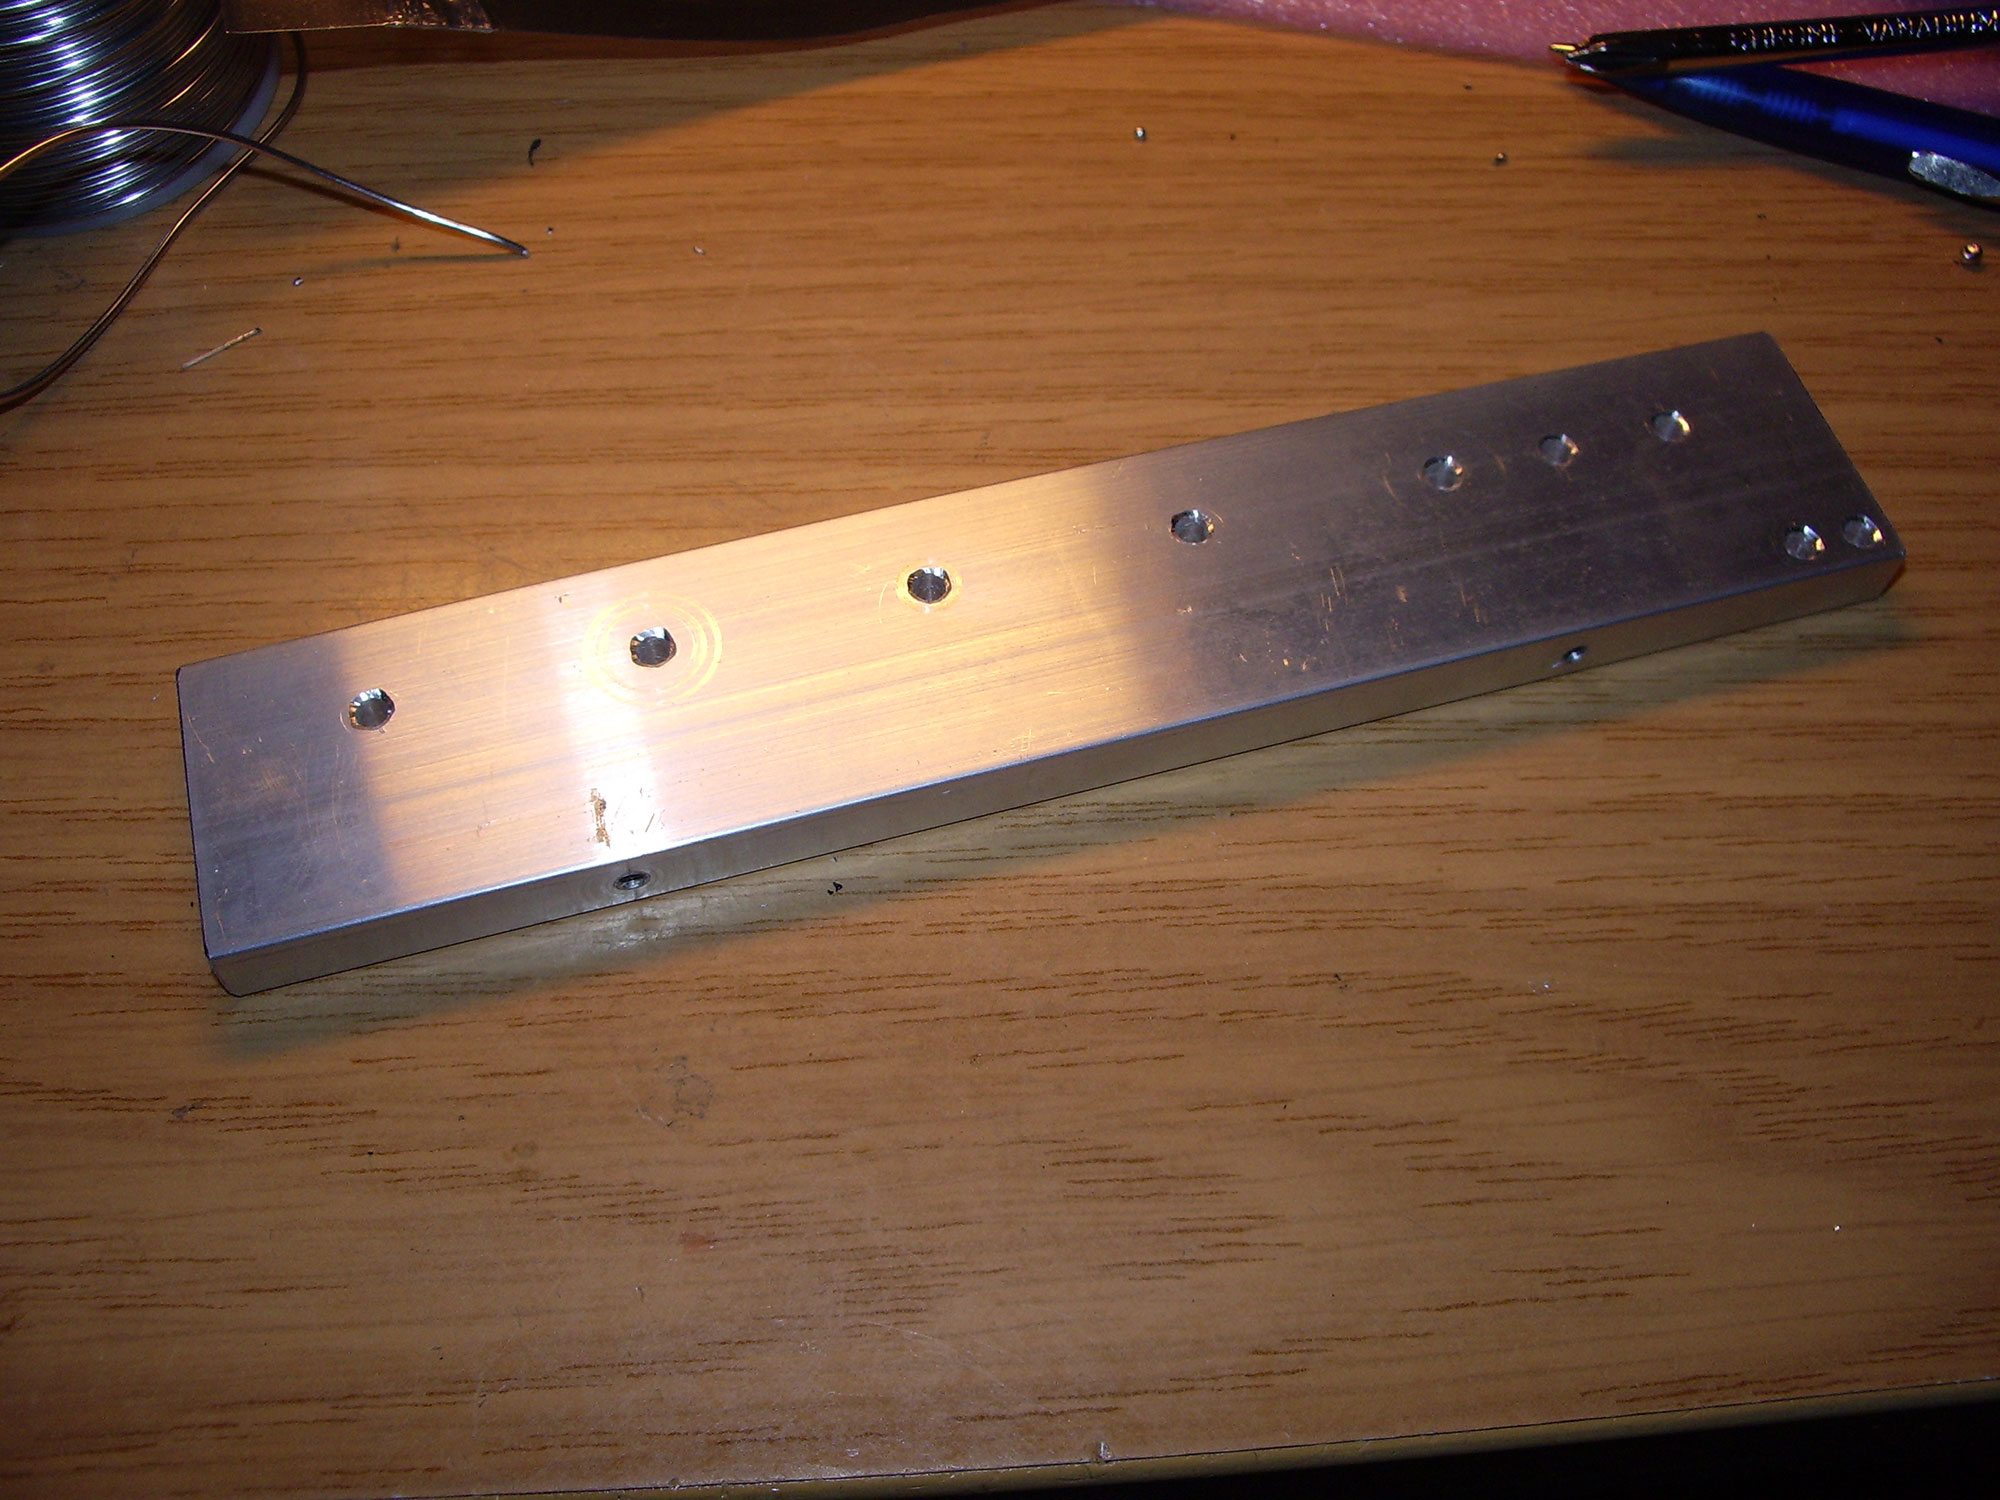
By the way, the heatsink has to be drilled first, that's what I did before. After that it's time to assemble!


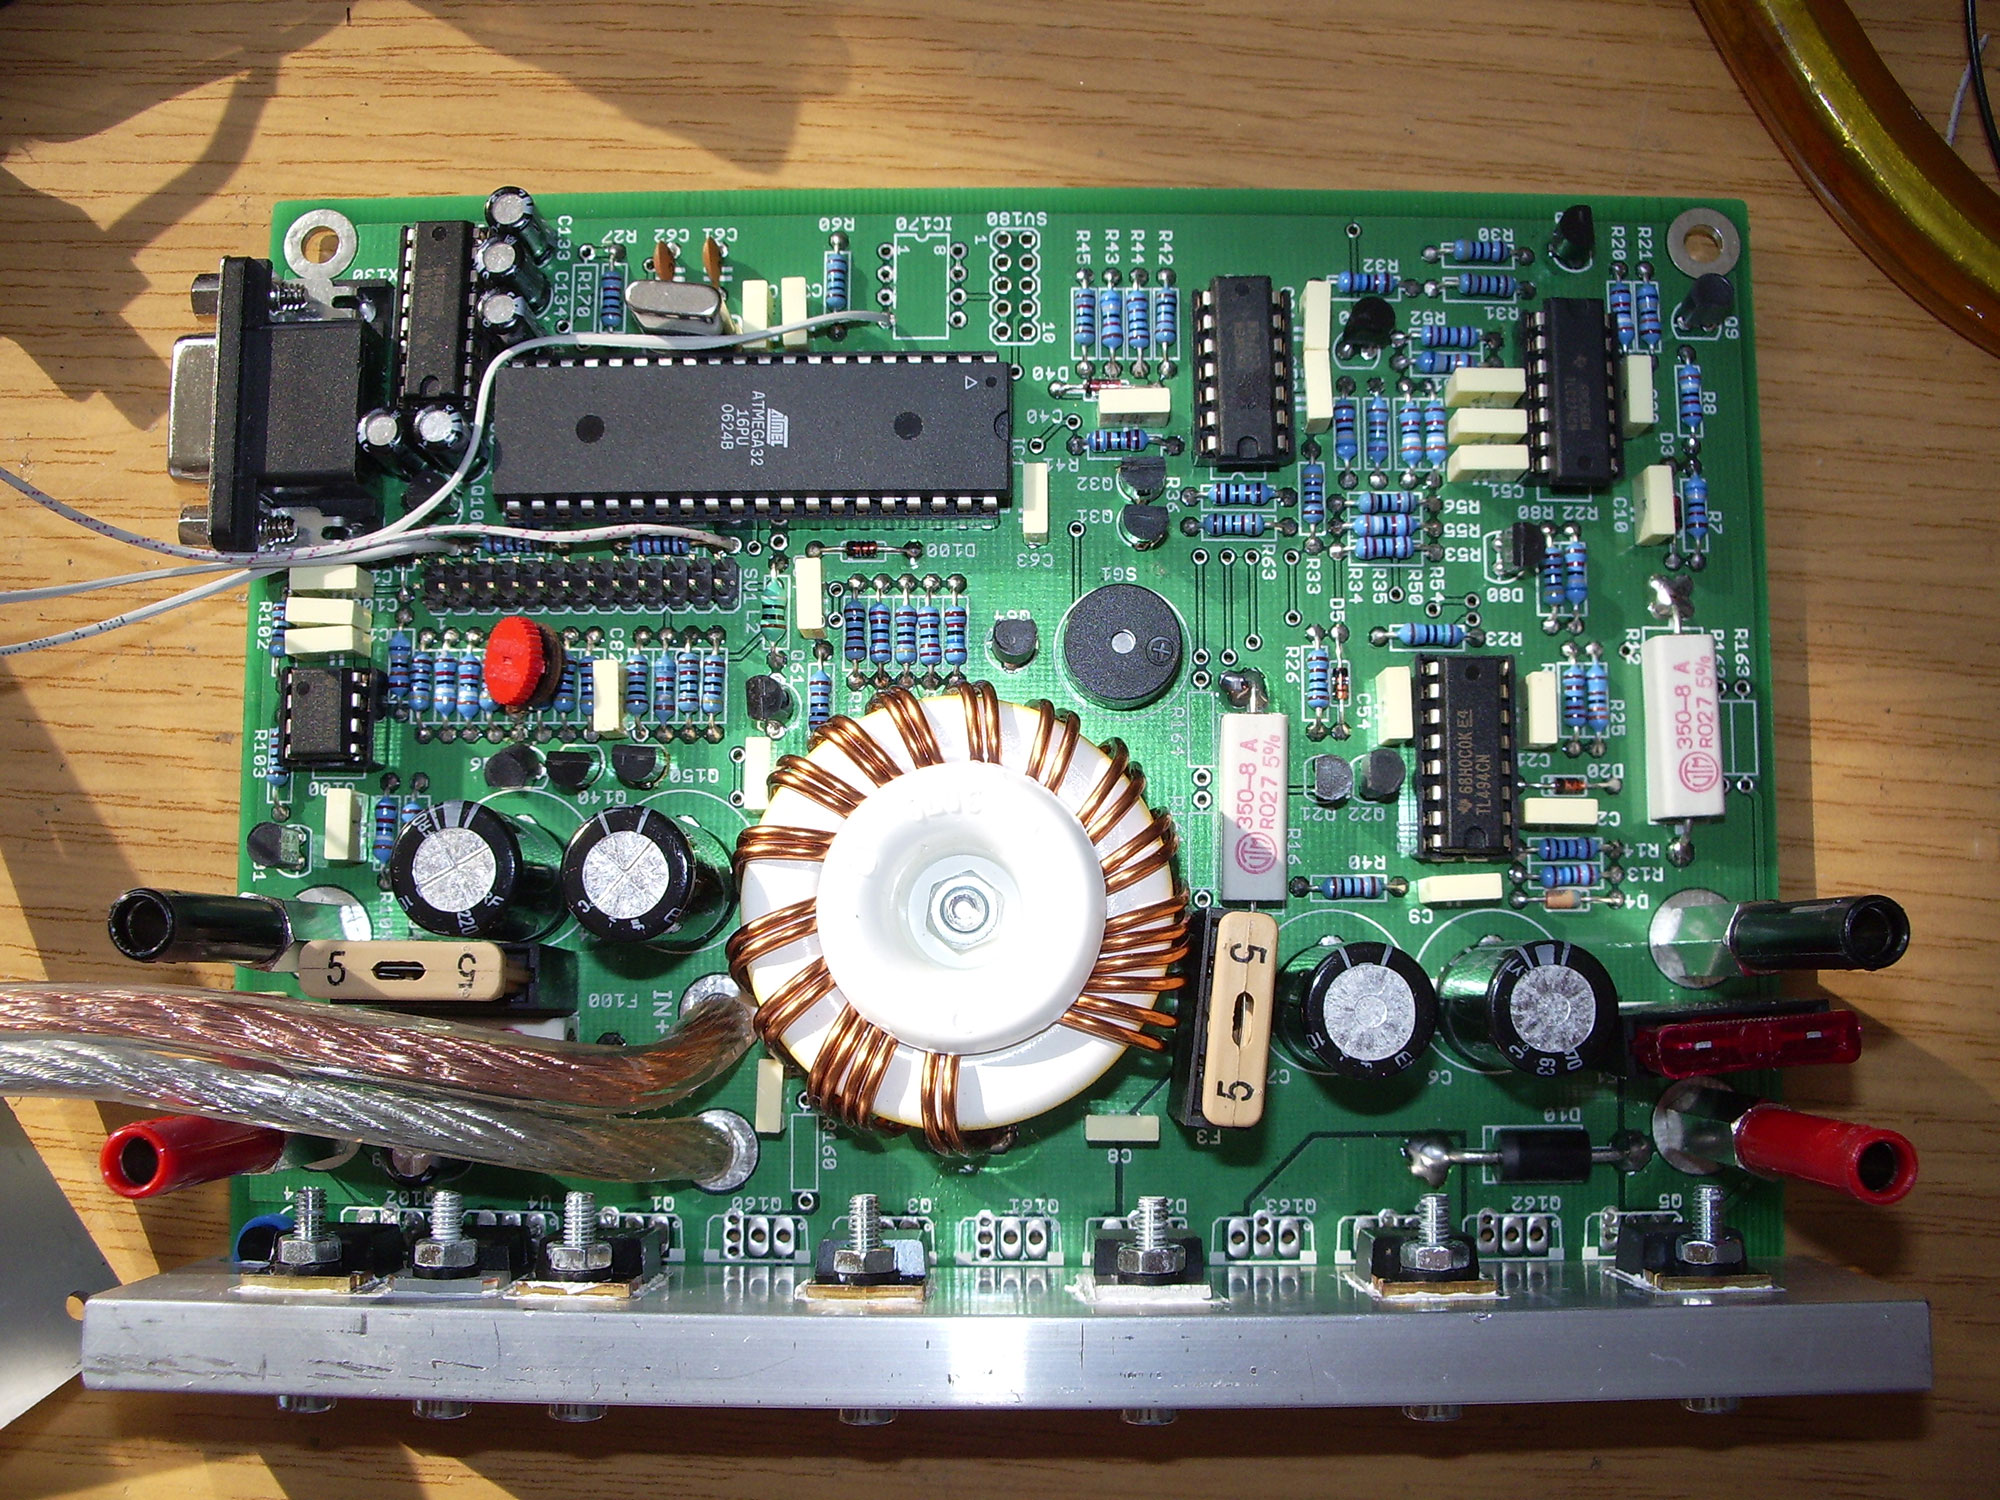

The assembly is not difficult for the experienced hobbyist - all components are wired, no SMD, the instructions are well written.
I replaced the fan with one from PAPST and installed it against the instructions so that it blows the air to the inside. The only complaint from Estner is that the fan blades could drag on the original perforated mesh. So I simply replaced it with a real fan mesh. The cooling performance improves.
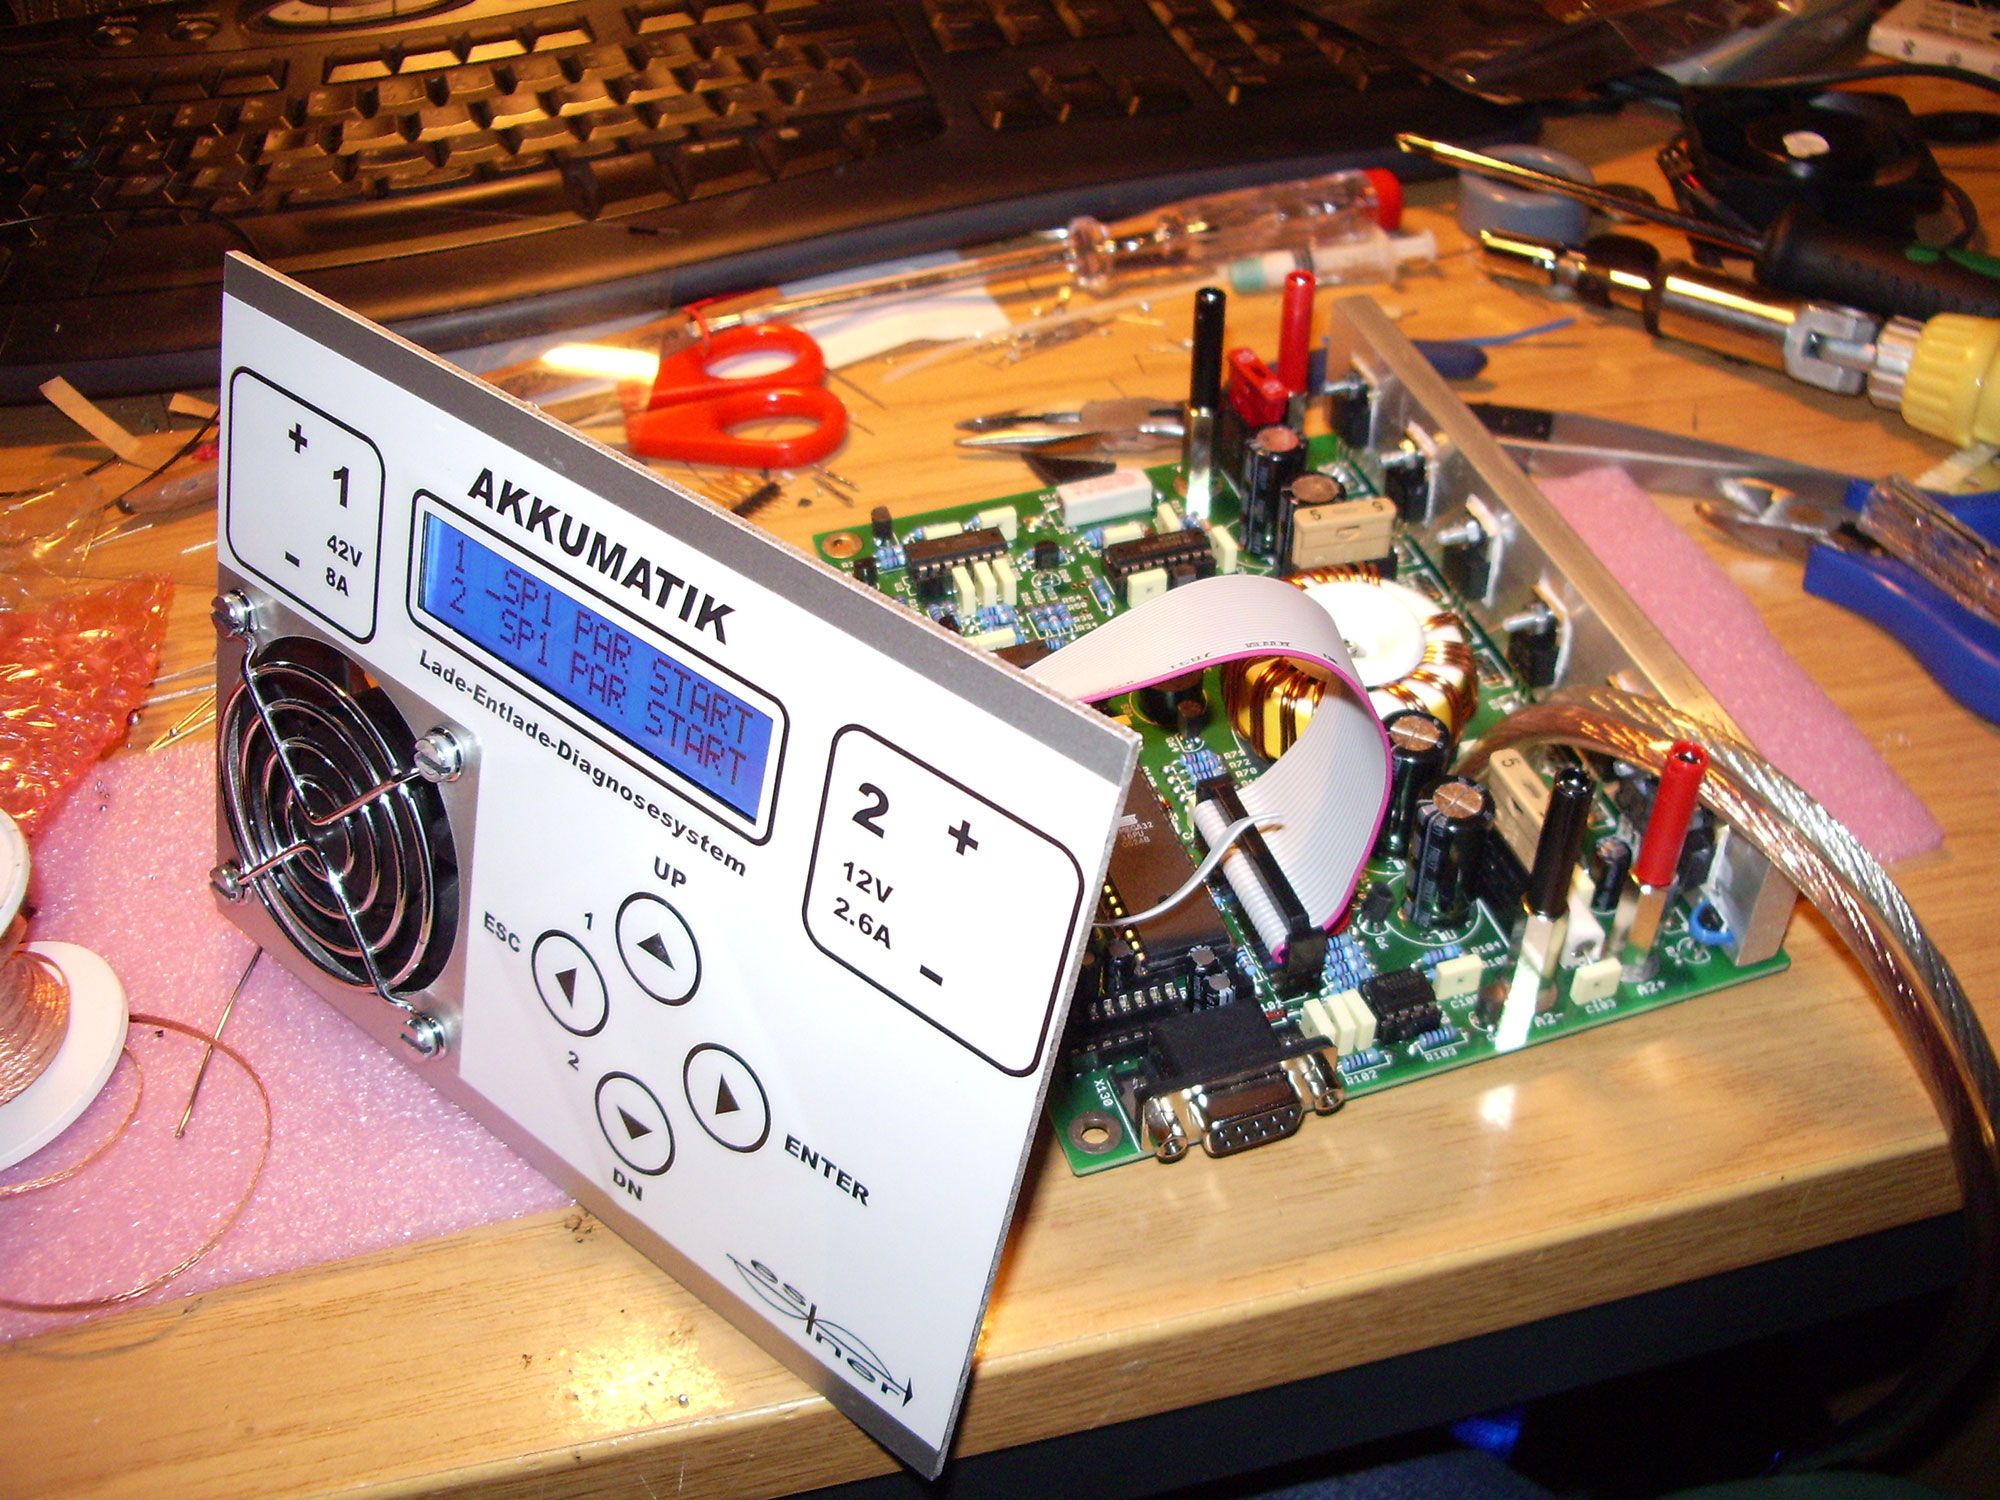
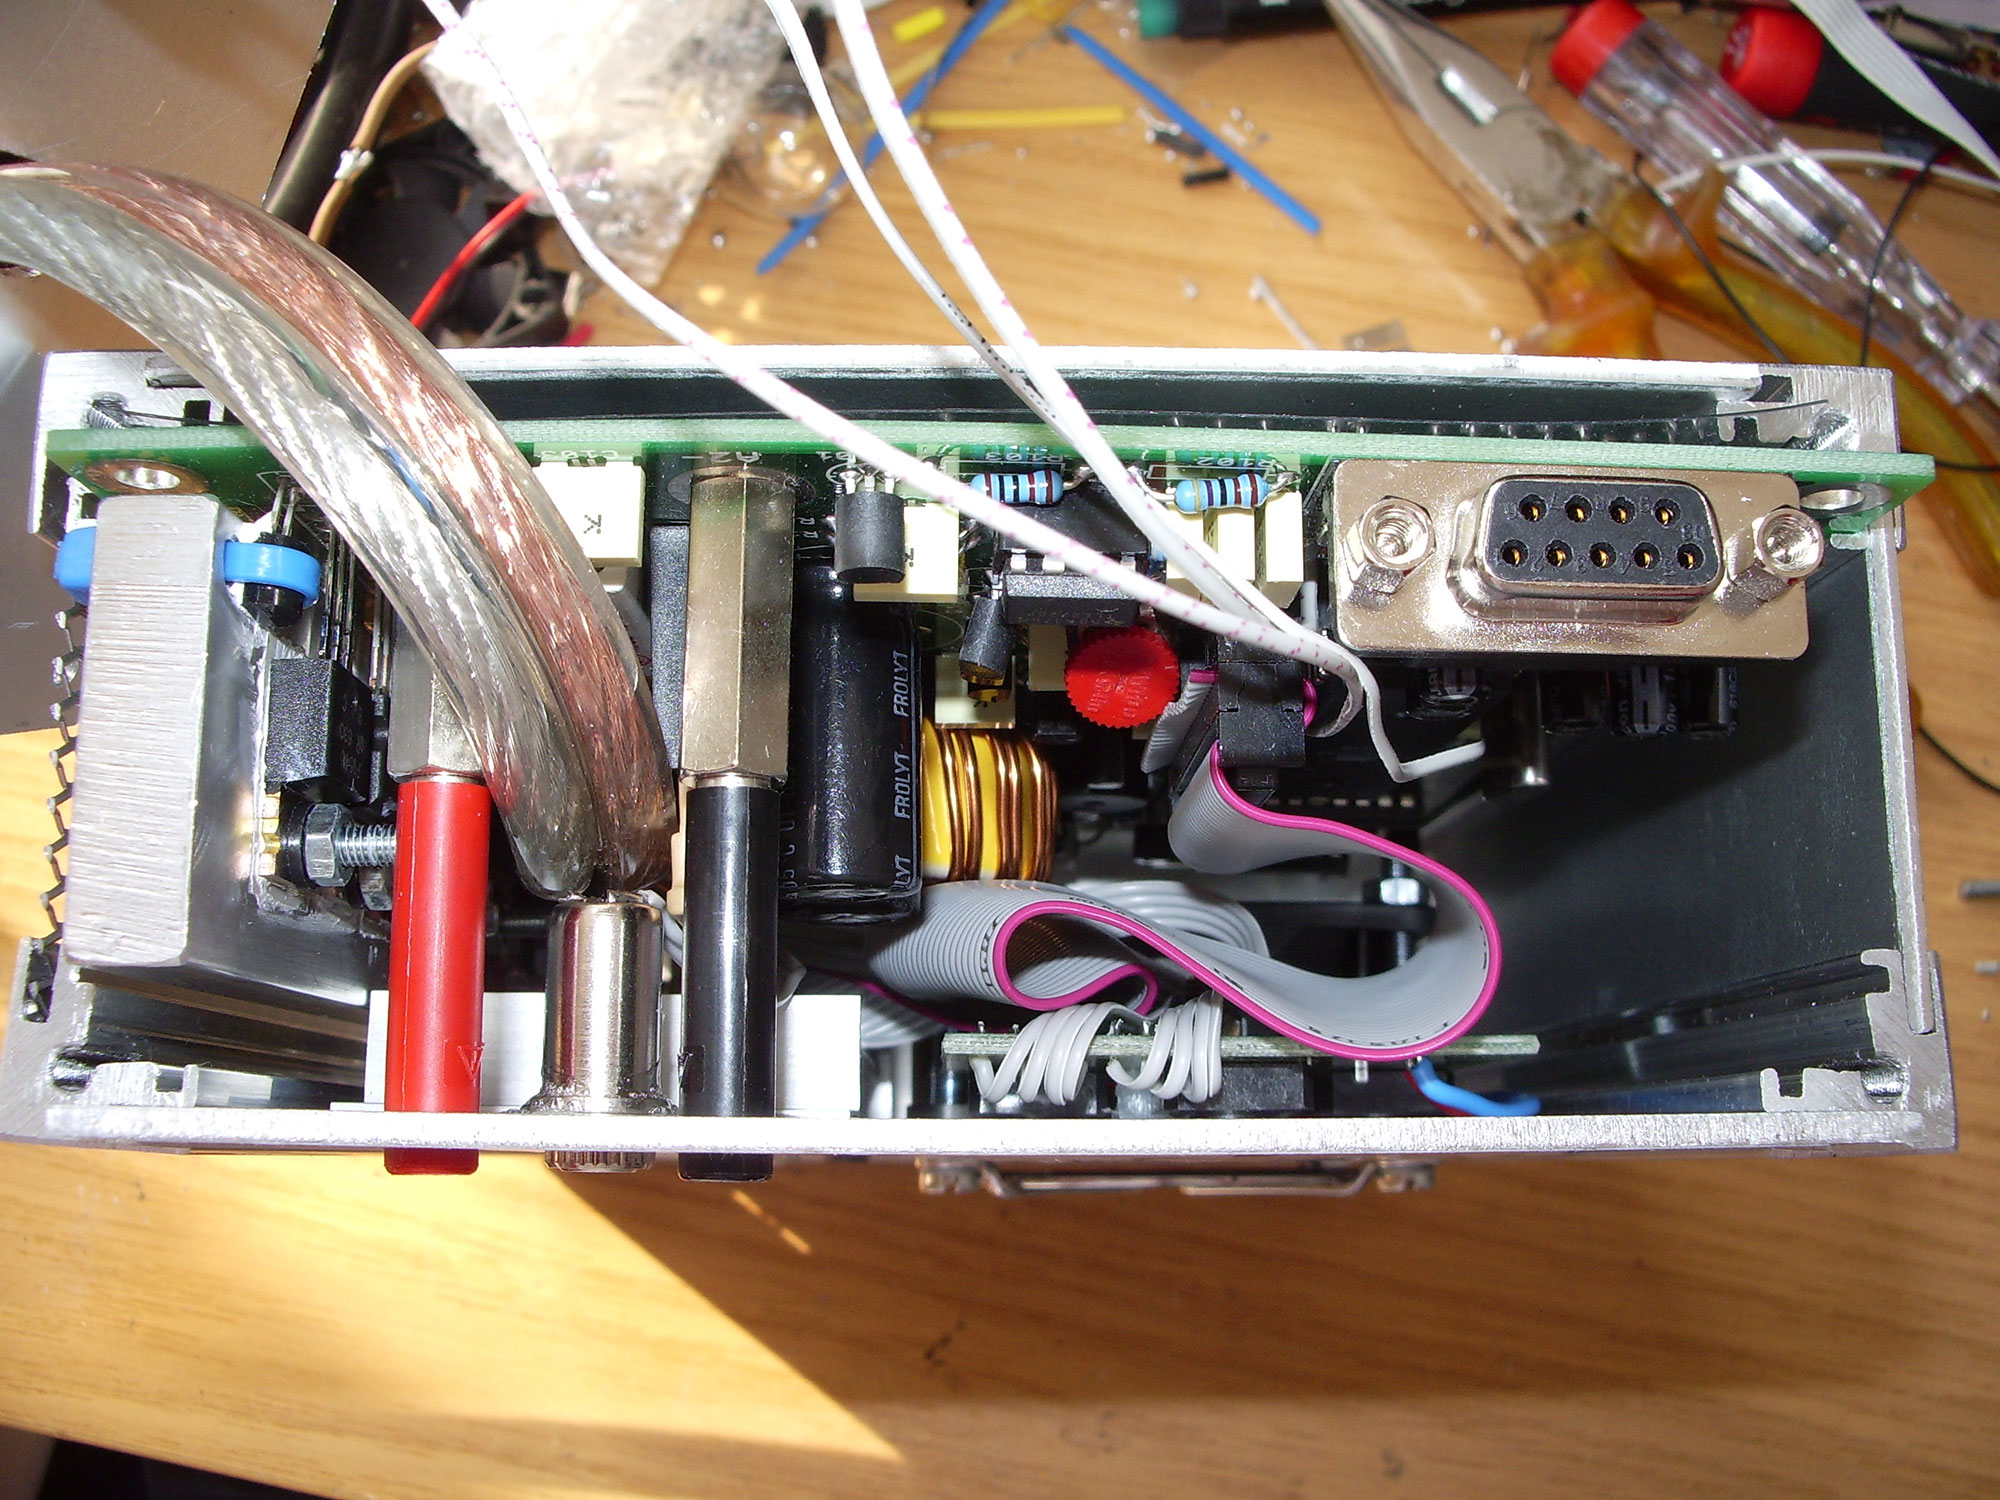
Next, the assembly must be tested, installed in the case and calibrated. This is described in the manual so far, all you need is a multimeter as accurate as possible and a battery. After that the device is ready for use.
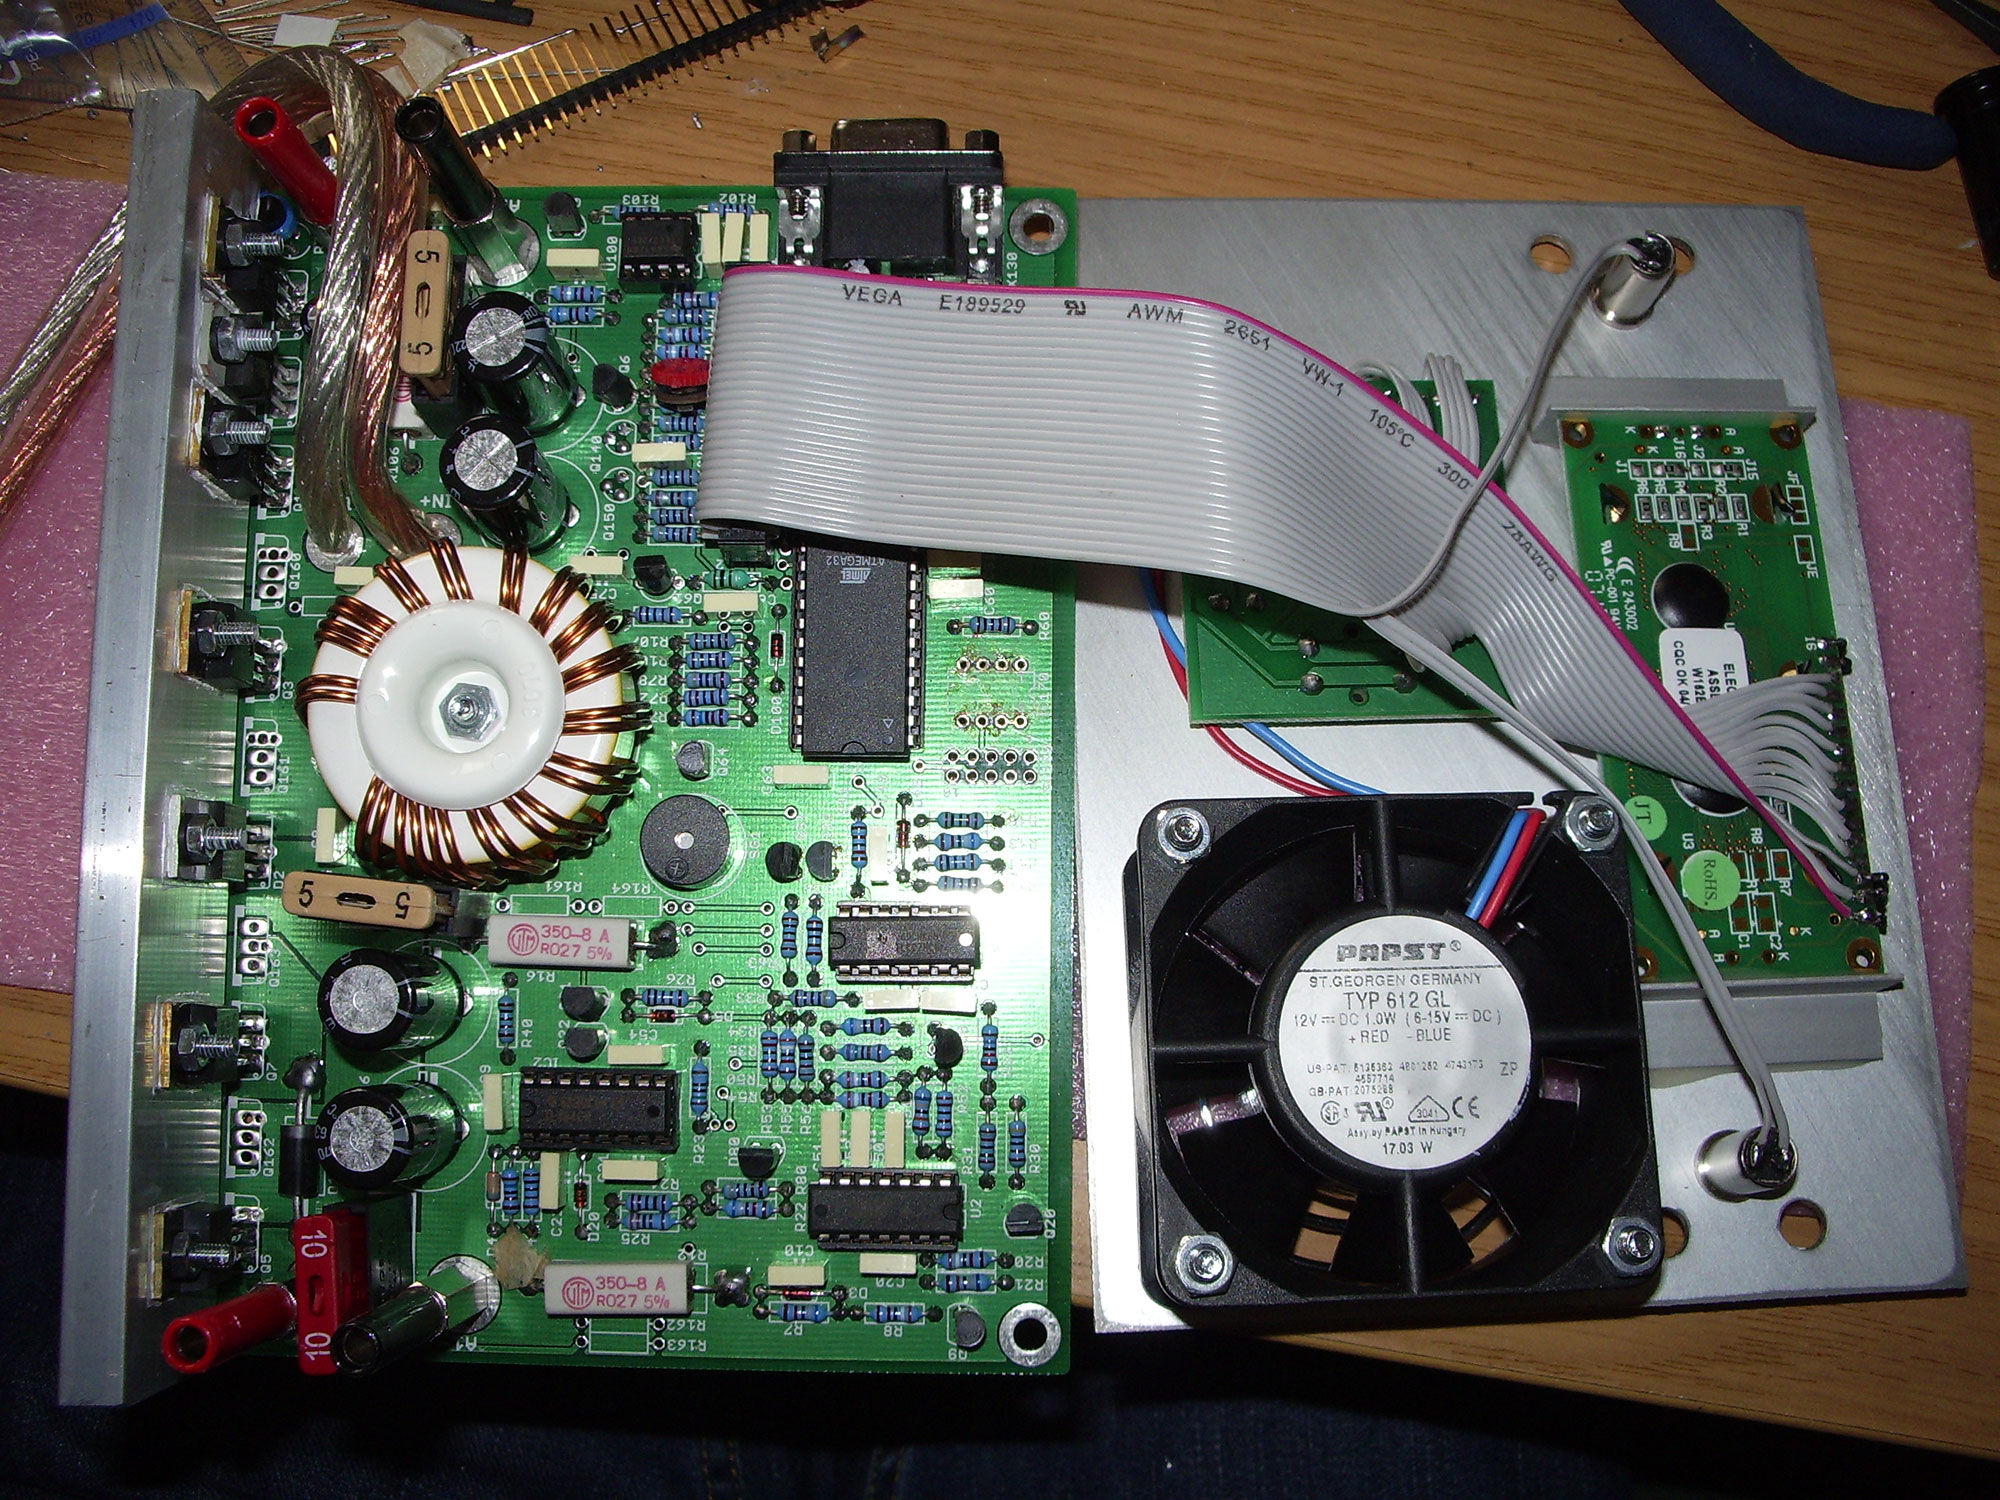
The additional options
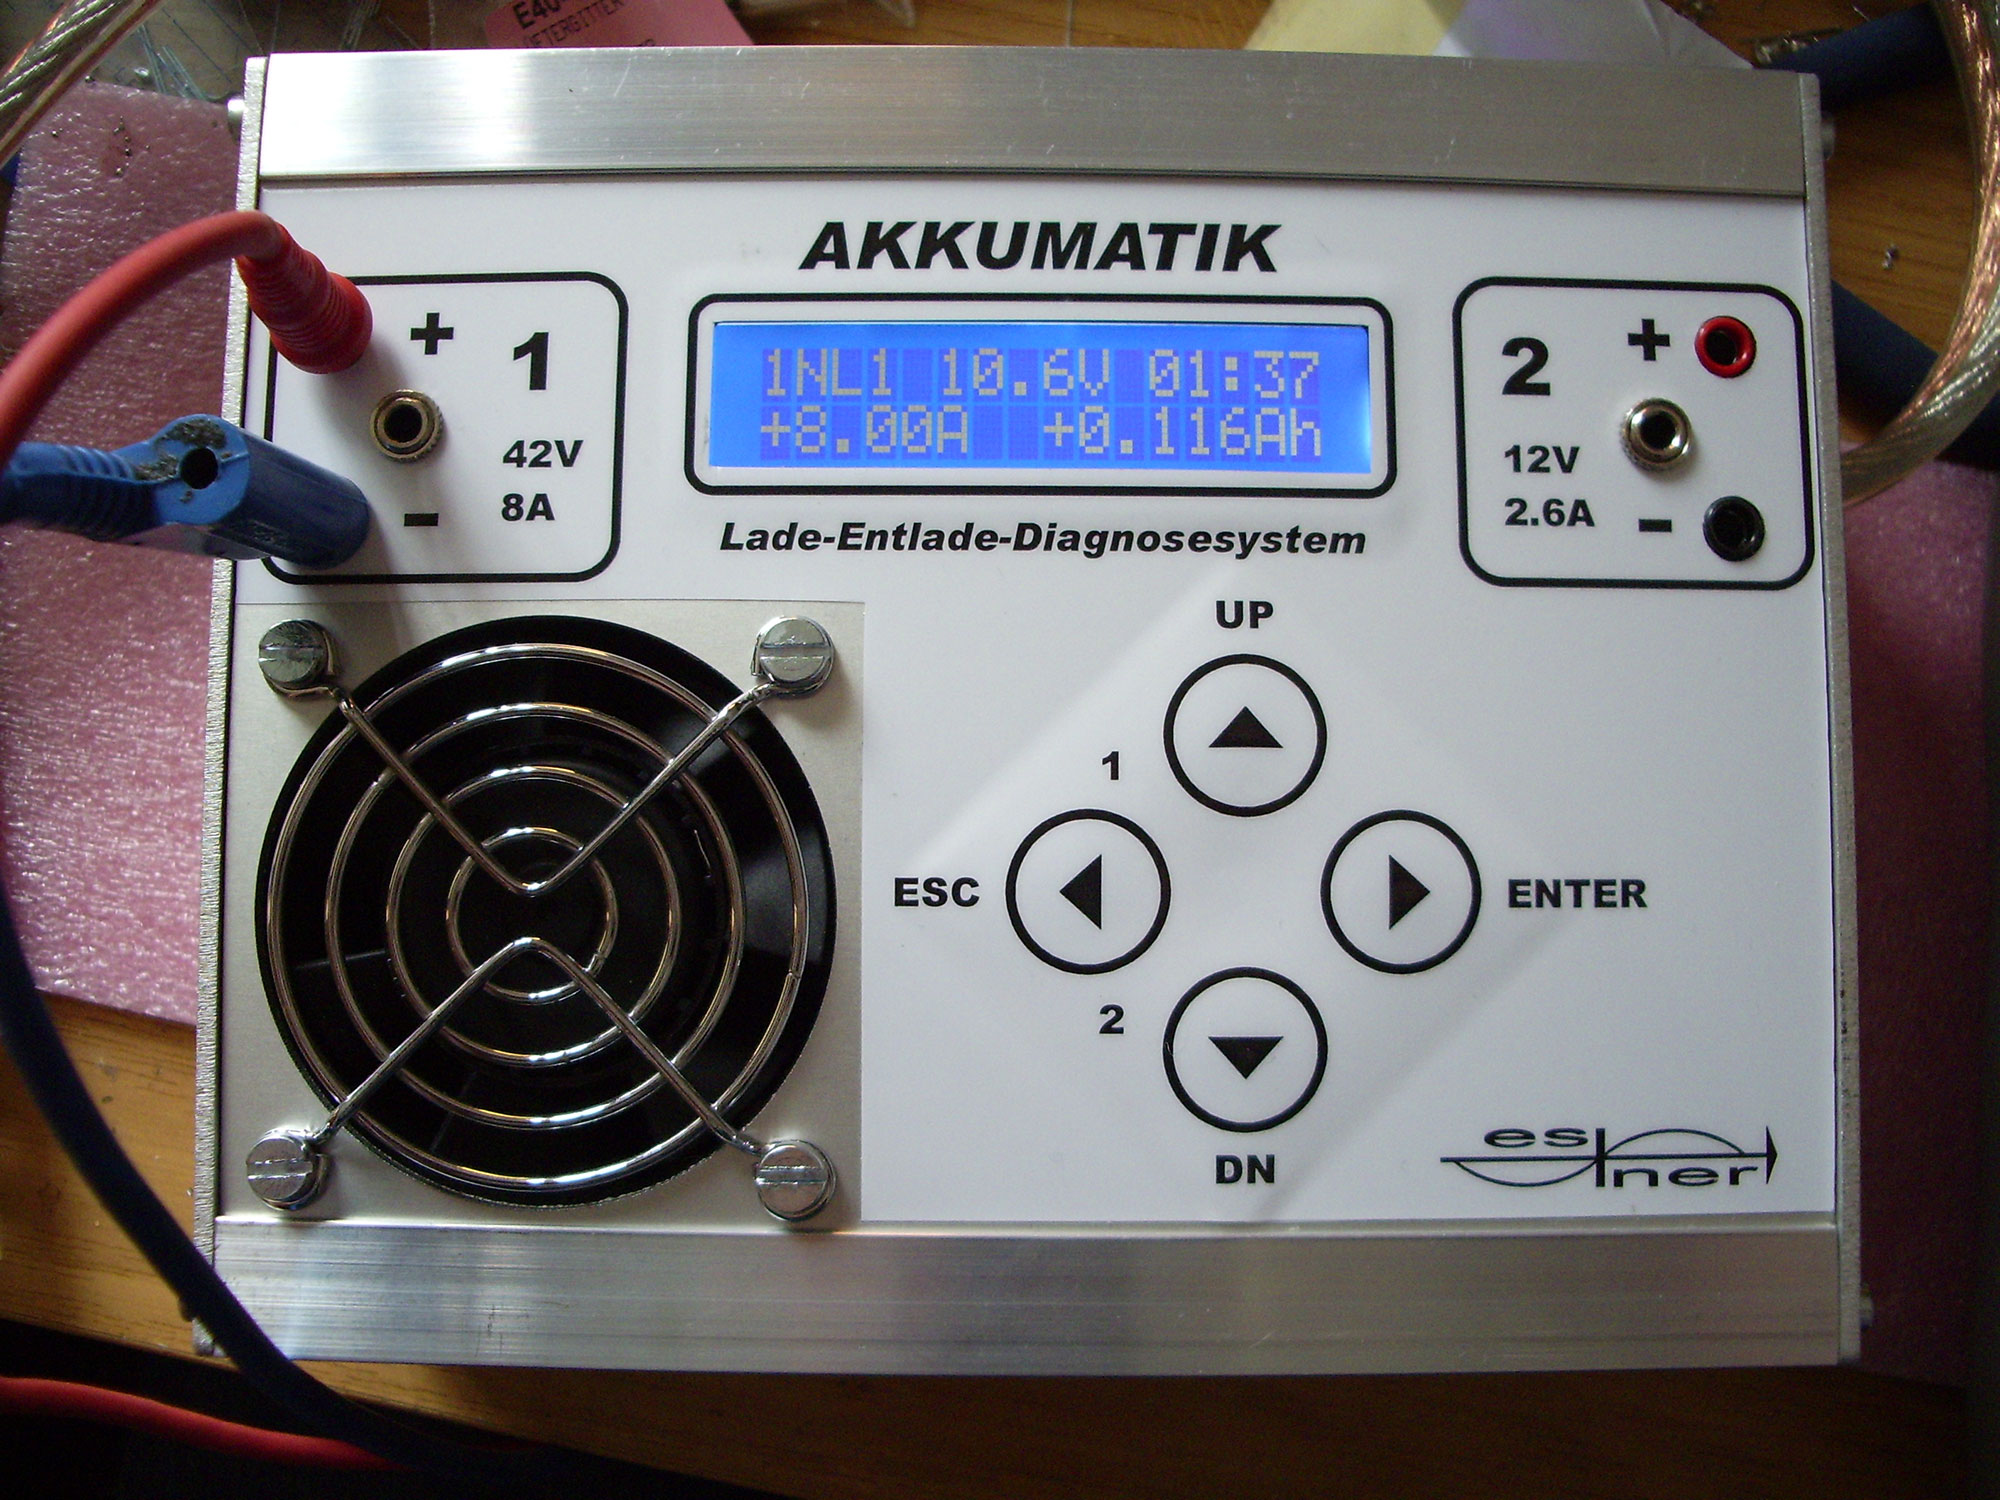
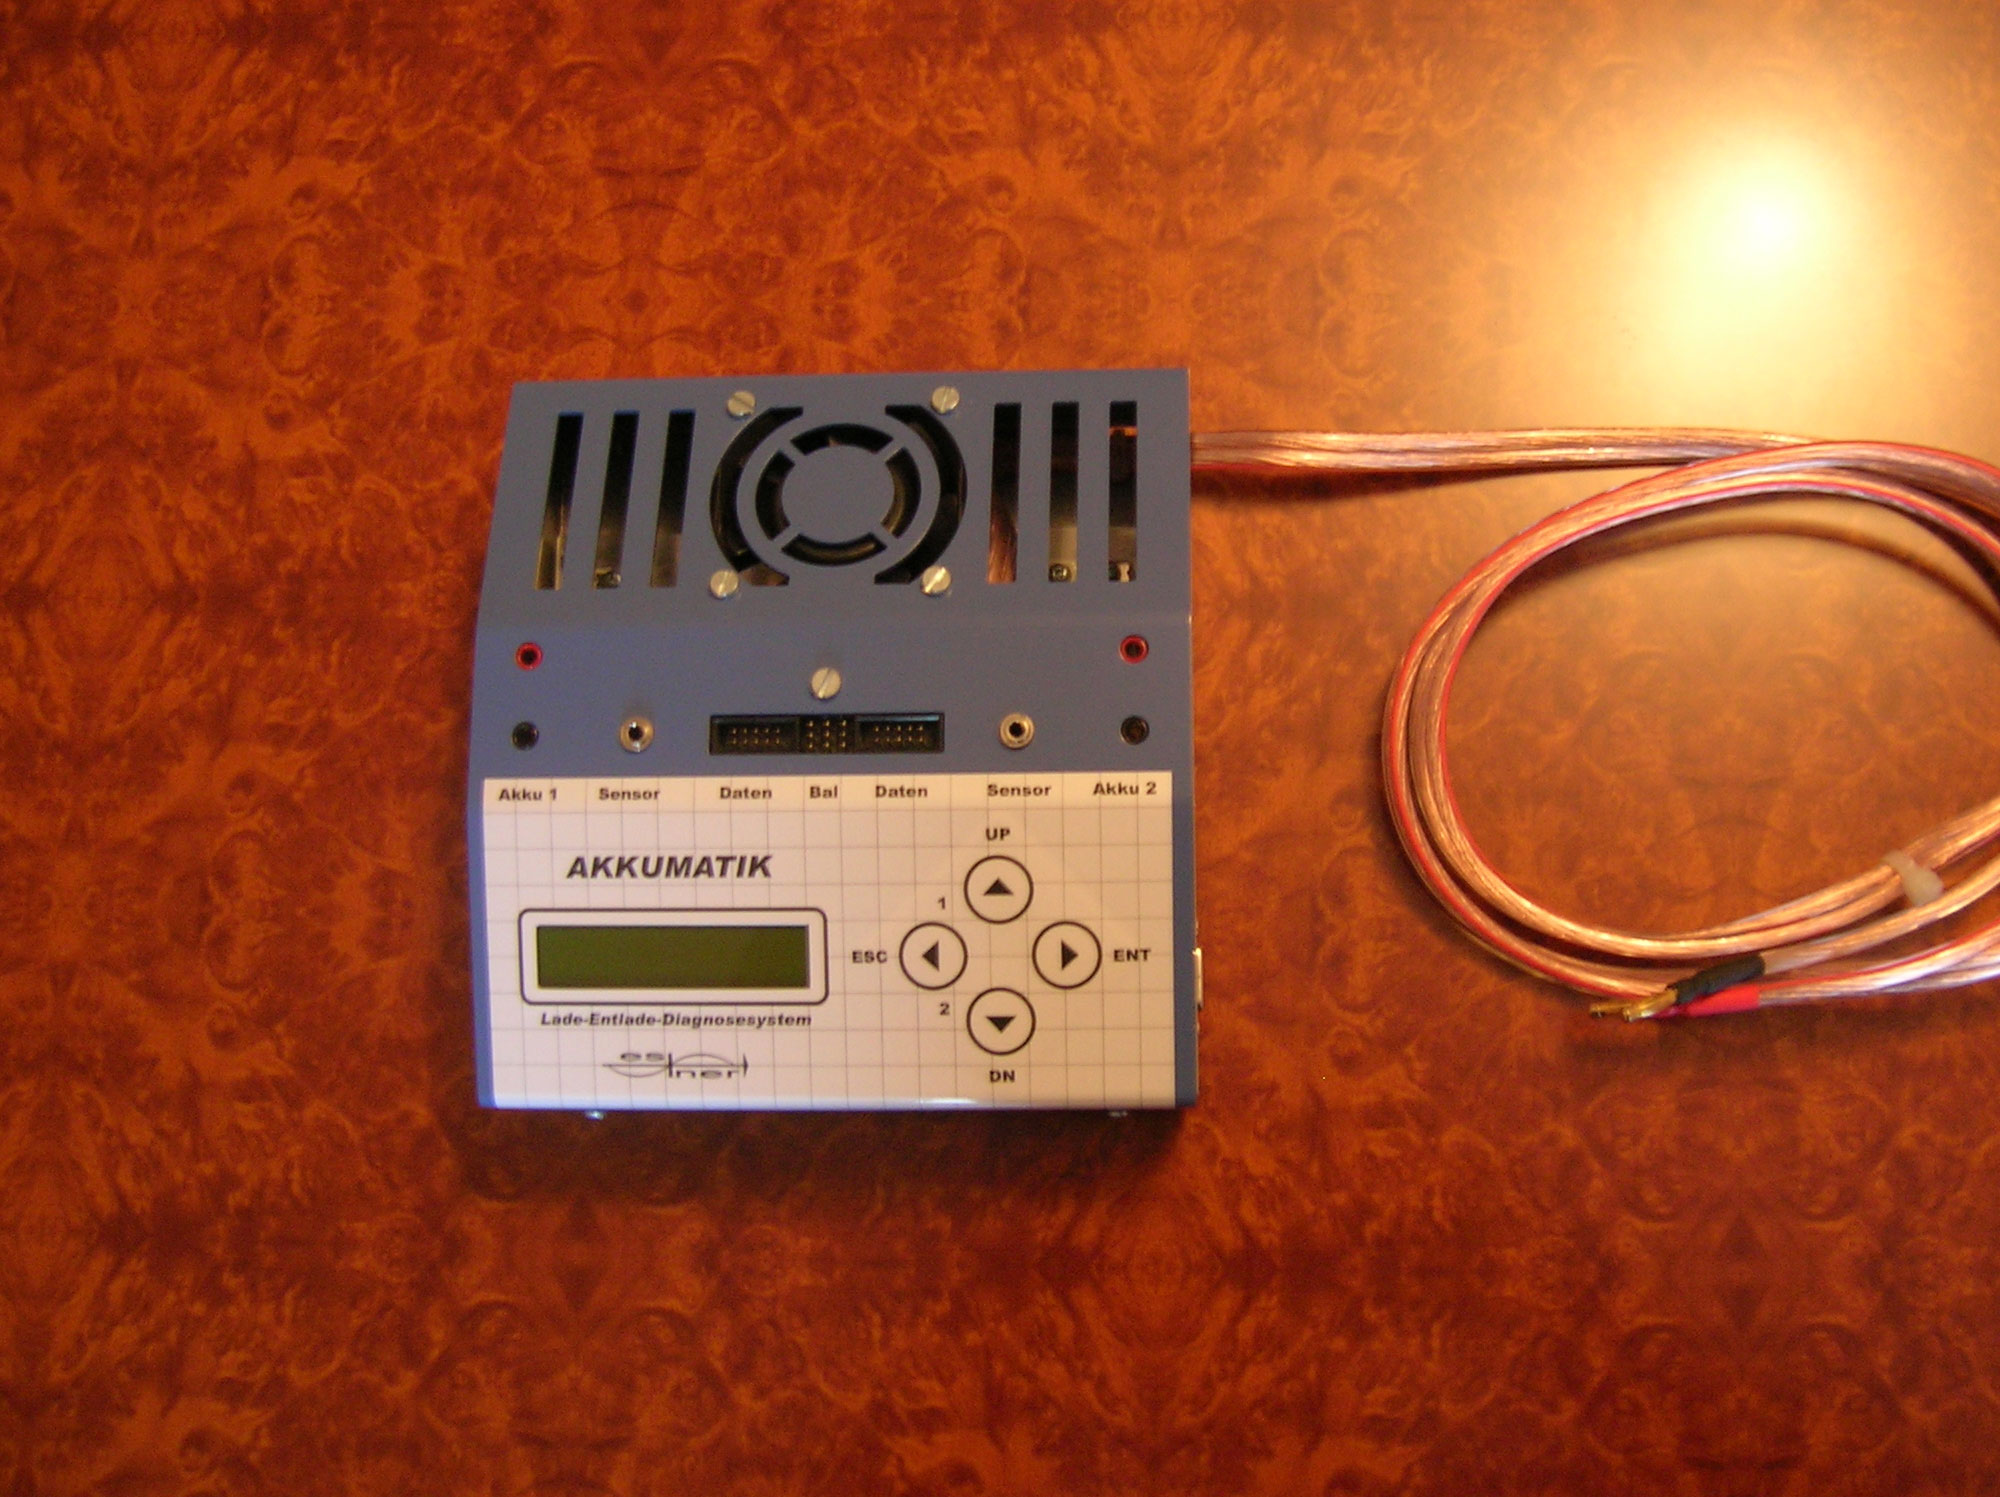
Some features are optional. The second battery output and the PC interface are actually only a few more components, which you should not save on. Illuminated display is a matter of taste, normally a green one would be included; Stefan even supplied a blue one on special request. So I have the first Akkumatik with an official blue display!
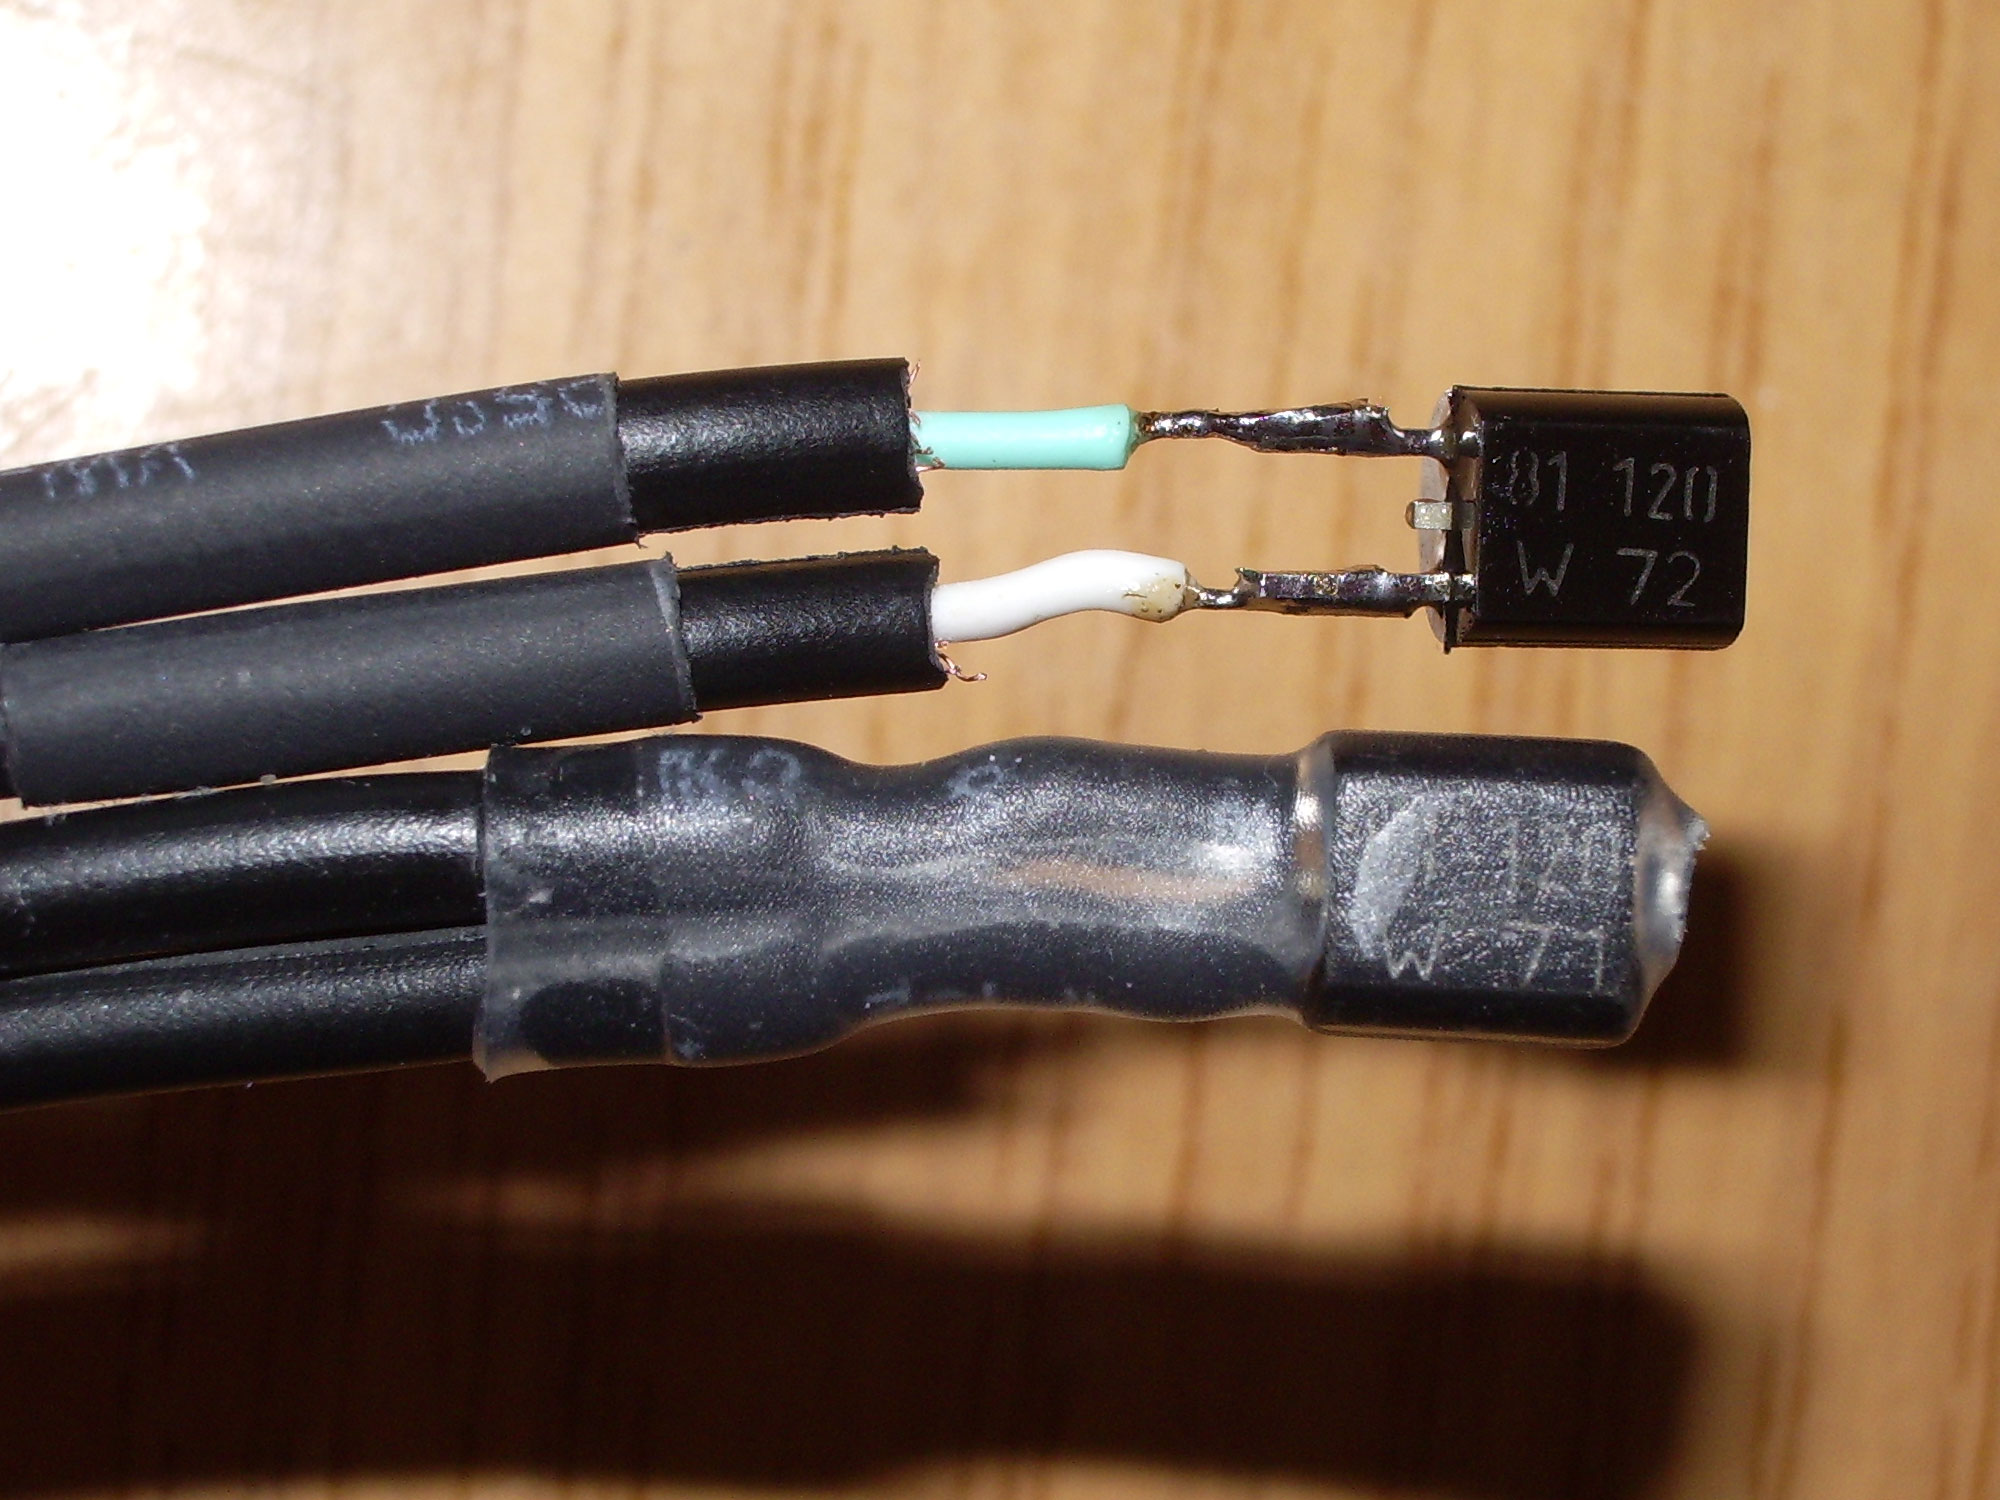
The temperature sensors consist of a cable with a jack plug and an NTC.
Offlinelogging, parameter storage, balance inputs
These are a very interesting extension; with the PC interface you can display the charge and discharge curves on the PC. For this, however, the computer must be running all the time, unless you use an off-line logging chip (I2C EEPROM). If this is plugged in during the charging process, up to 17 hours are recorded. Later you can transfer the data in time lapse to the PC.
The parameter memory is also an EEPROM. Complete charging program settings can be stored and retrieved in it. This saves the annoying typing when you want to charge the same battery again and again.
Balancers are devices that monitor the individual cell voltage of lithium battery packs. If the voltage at a cell is too high, the charging current can be reduced - or even the charging process can be aborted. The Akkumatik has inputs for various balancers. The whole option is delivered as an additional board for both housing types, here installed in the side panel in the middle.
Logview
With Logview you can display all data on your PC, draw beautiful charge and discharge curves or remote control the Akkumatik. Logview is a project of Dominik Schmidt and supports among other things the Akkumatik.
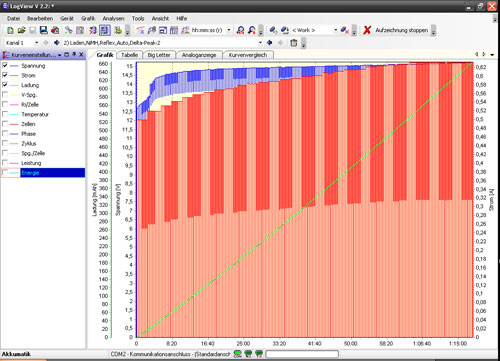
Note: The stripes are because of the reflex charging method which was used.
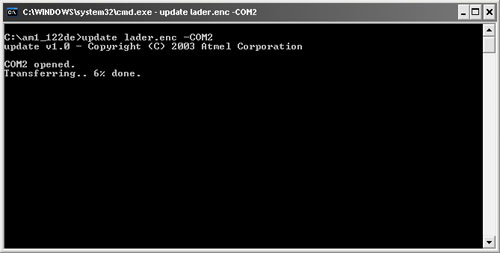
Firmware update
Updates for the charger are a matter of course at Estner. This also justifies the purchase price. Not only the components are paid, but also the development. Later updates are free of charge at any time.
They are very simple: Download the ZIP file from the Akkumatik website, unpack it, put the Akkumatik into bootloader mode (press and hold ENTER while turning on power, then release), and type "update lader.enc -COMx" where x is replaced by the number of the COM port the charger is connected to.
New case
There is always something new - meanwhile the kit is no longer delivered in the silver case but in a blue one. This one is a bit roomier than the old one, but I personally like the old one better.
Thanks for the picture to Jens.
Test result
The Akkumatik can handle various charging methods and battery types, and the support is friendly. Everything is just perfect here. Not to mention that compared to a purchased device, you get circuit diagrams and can repair yourself. For everyone who has to charge a lot of rechargeable batteries or does model-building, this is a must-have!